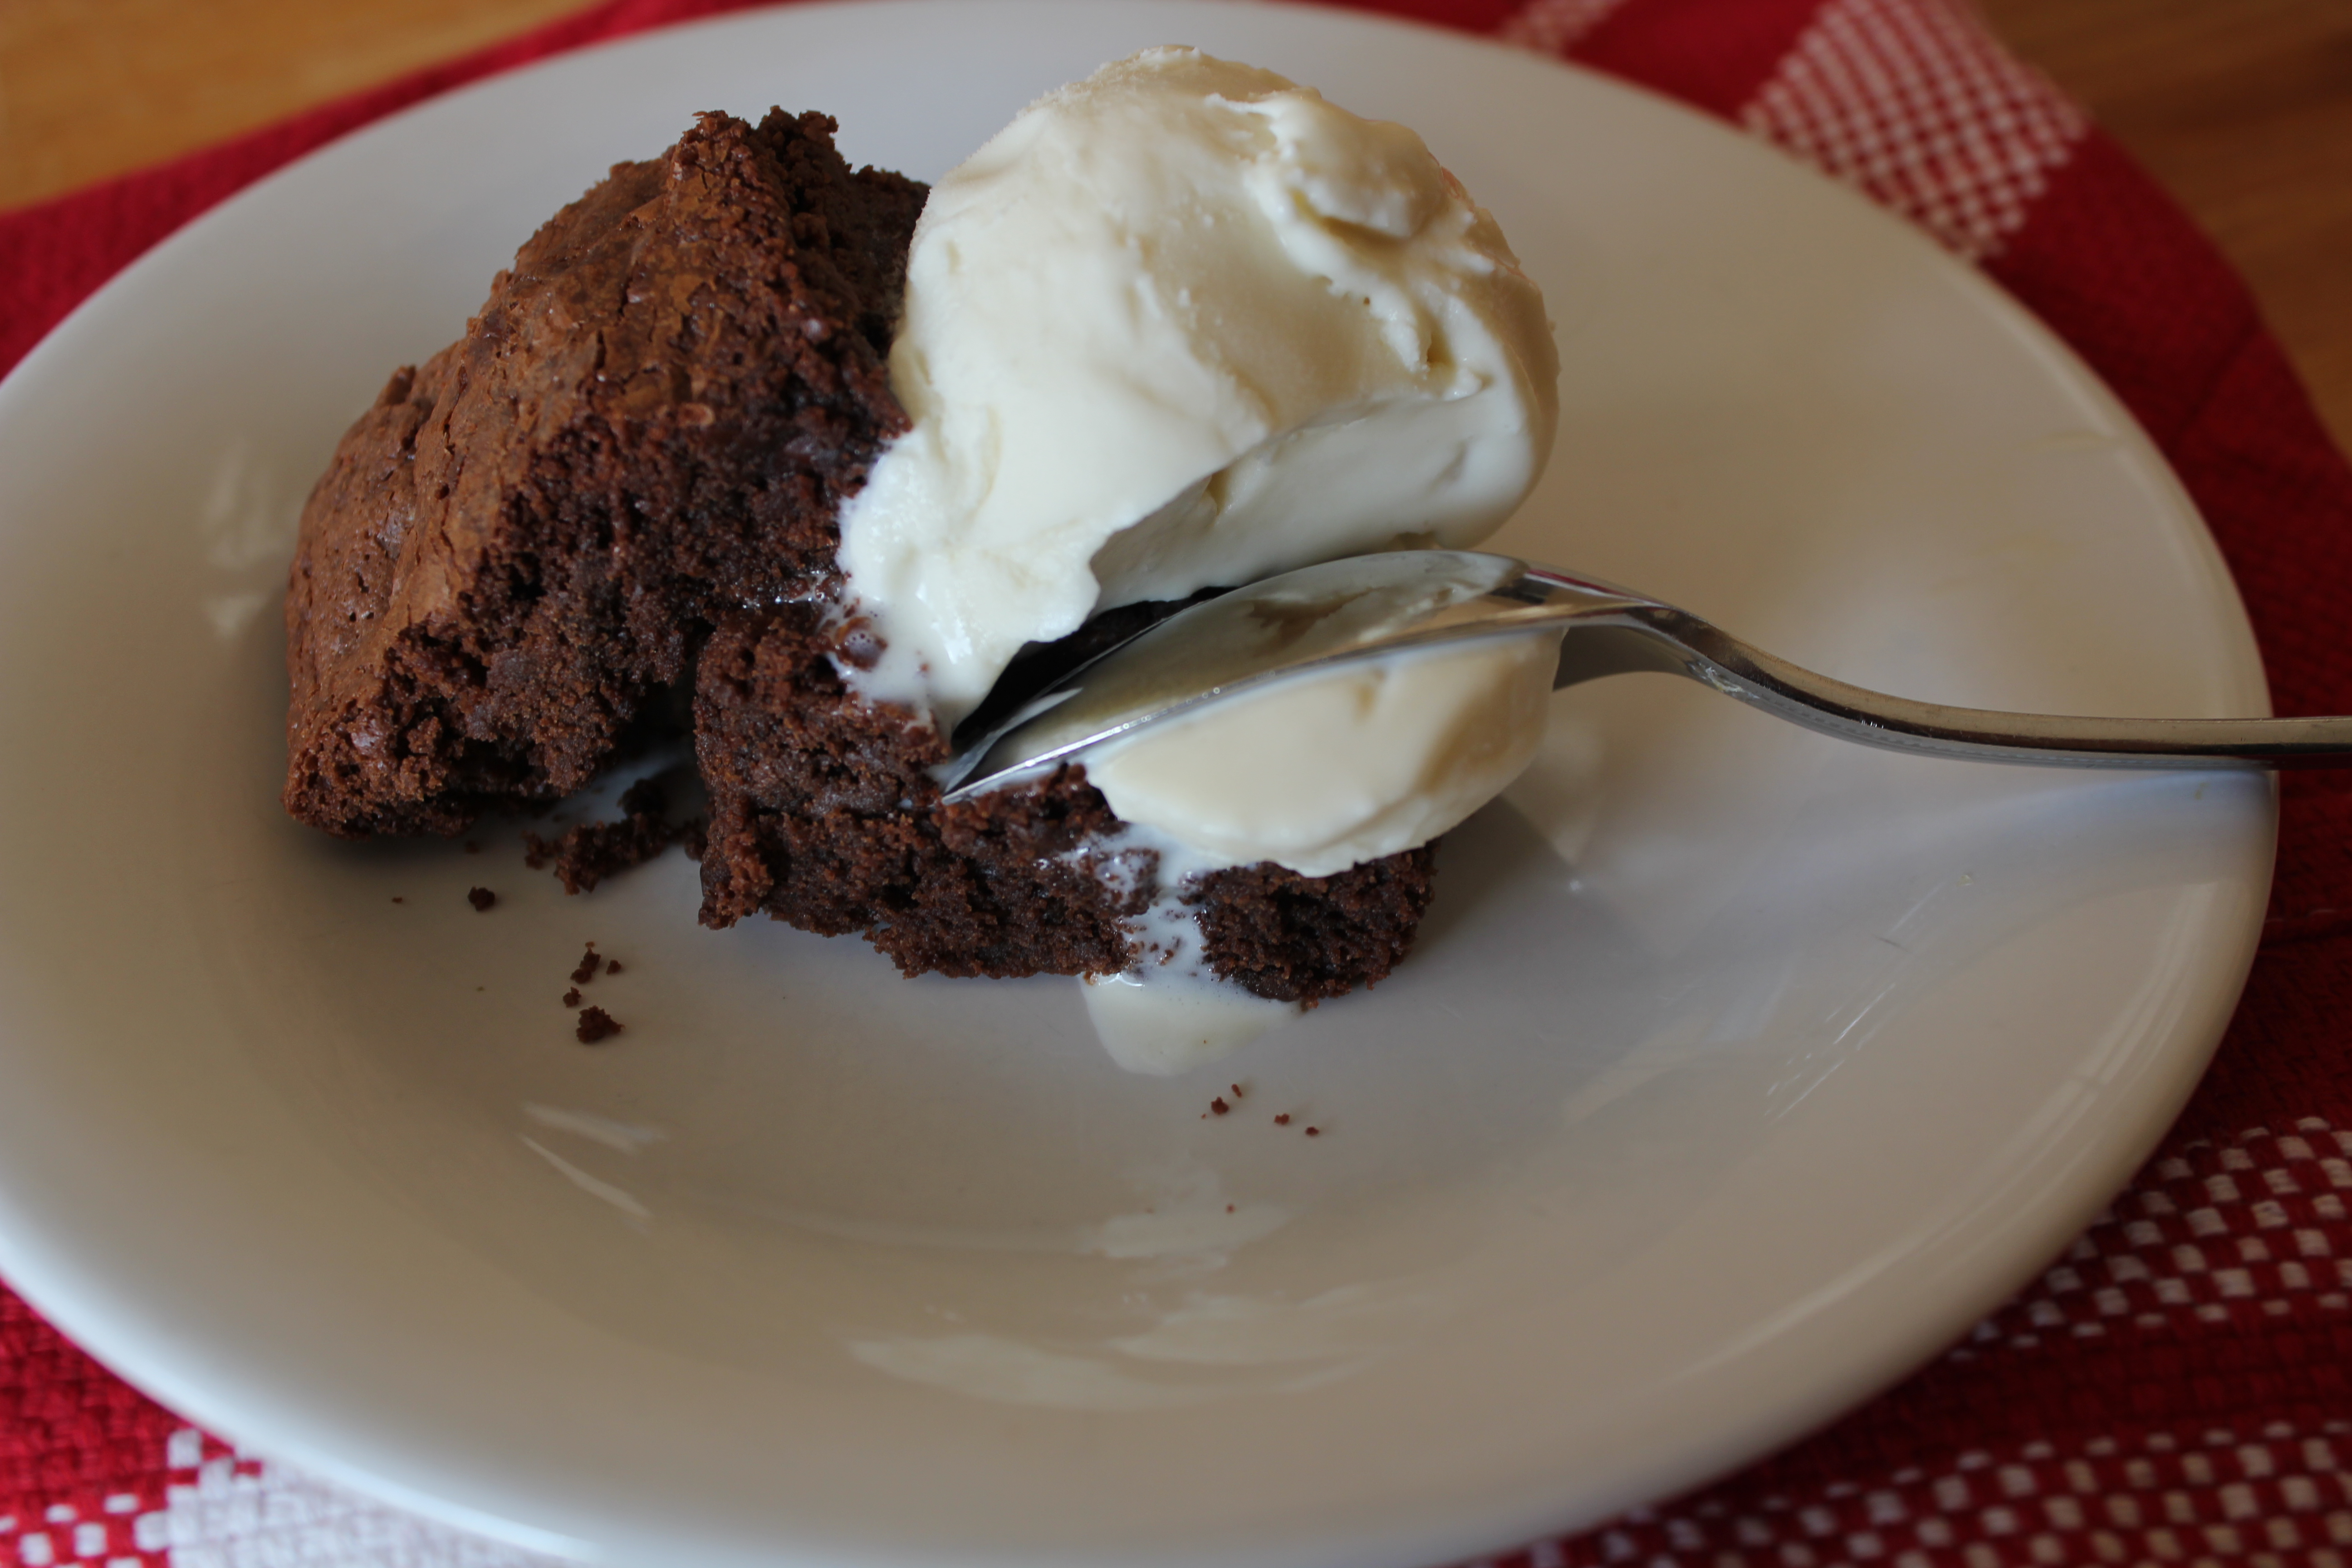
Now who doesn’t enjoy a nice warm brownie with large scoop of vanilla ice cream on top. This recipe a dark chocolate lover’s dream come true. You can use as dark of a chocolate as you desire. For me the 63-75% dark is perfect..

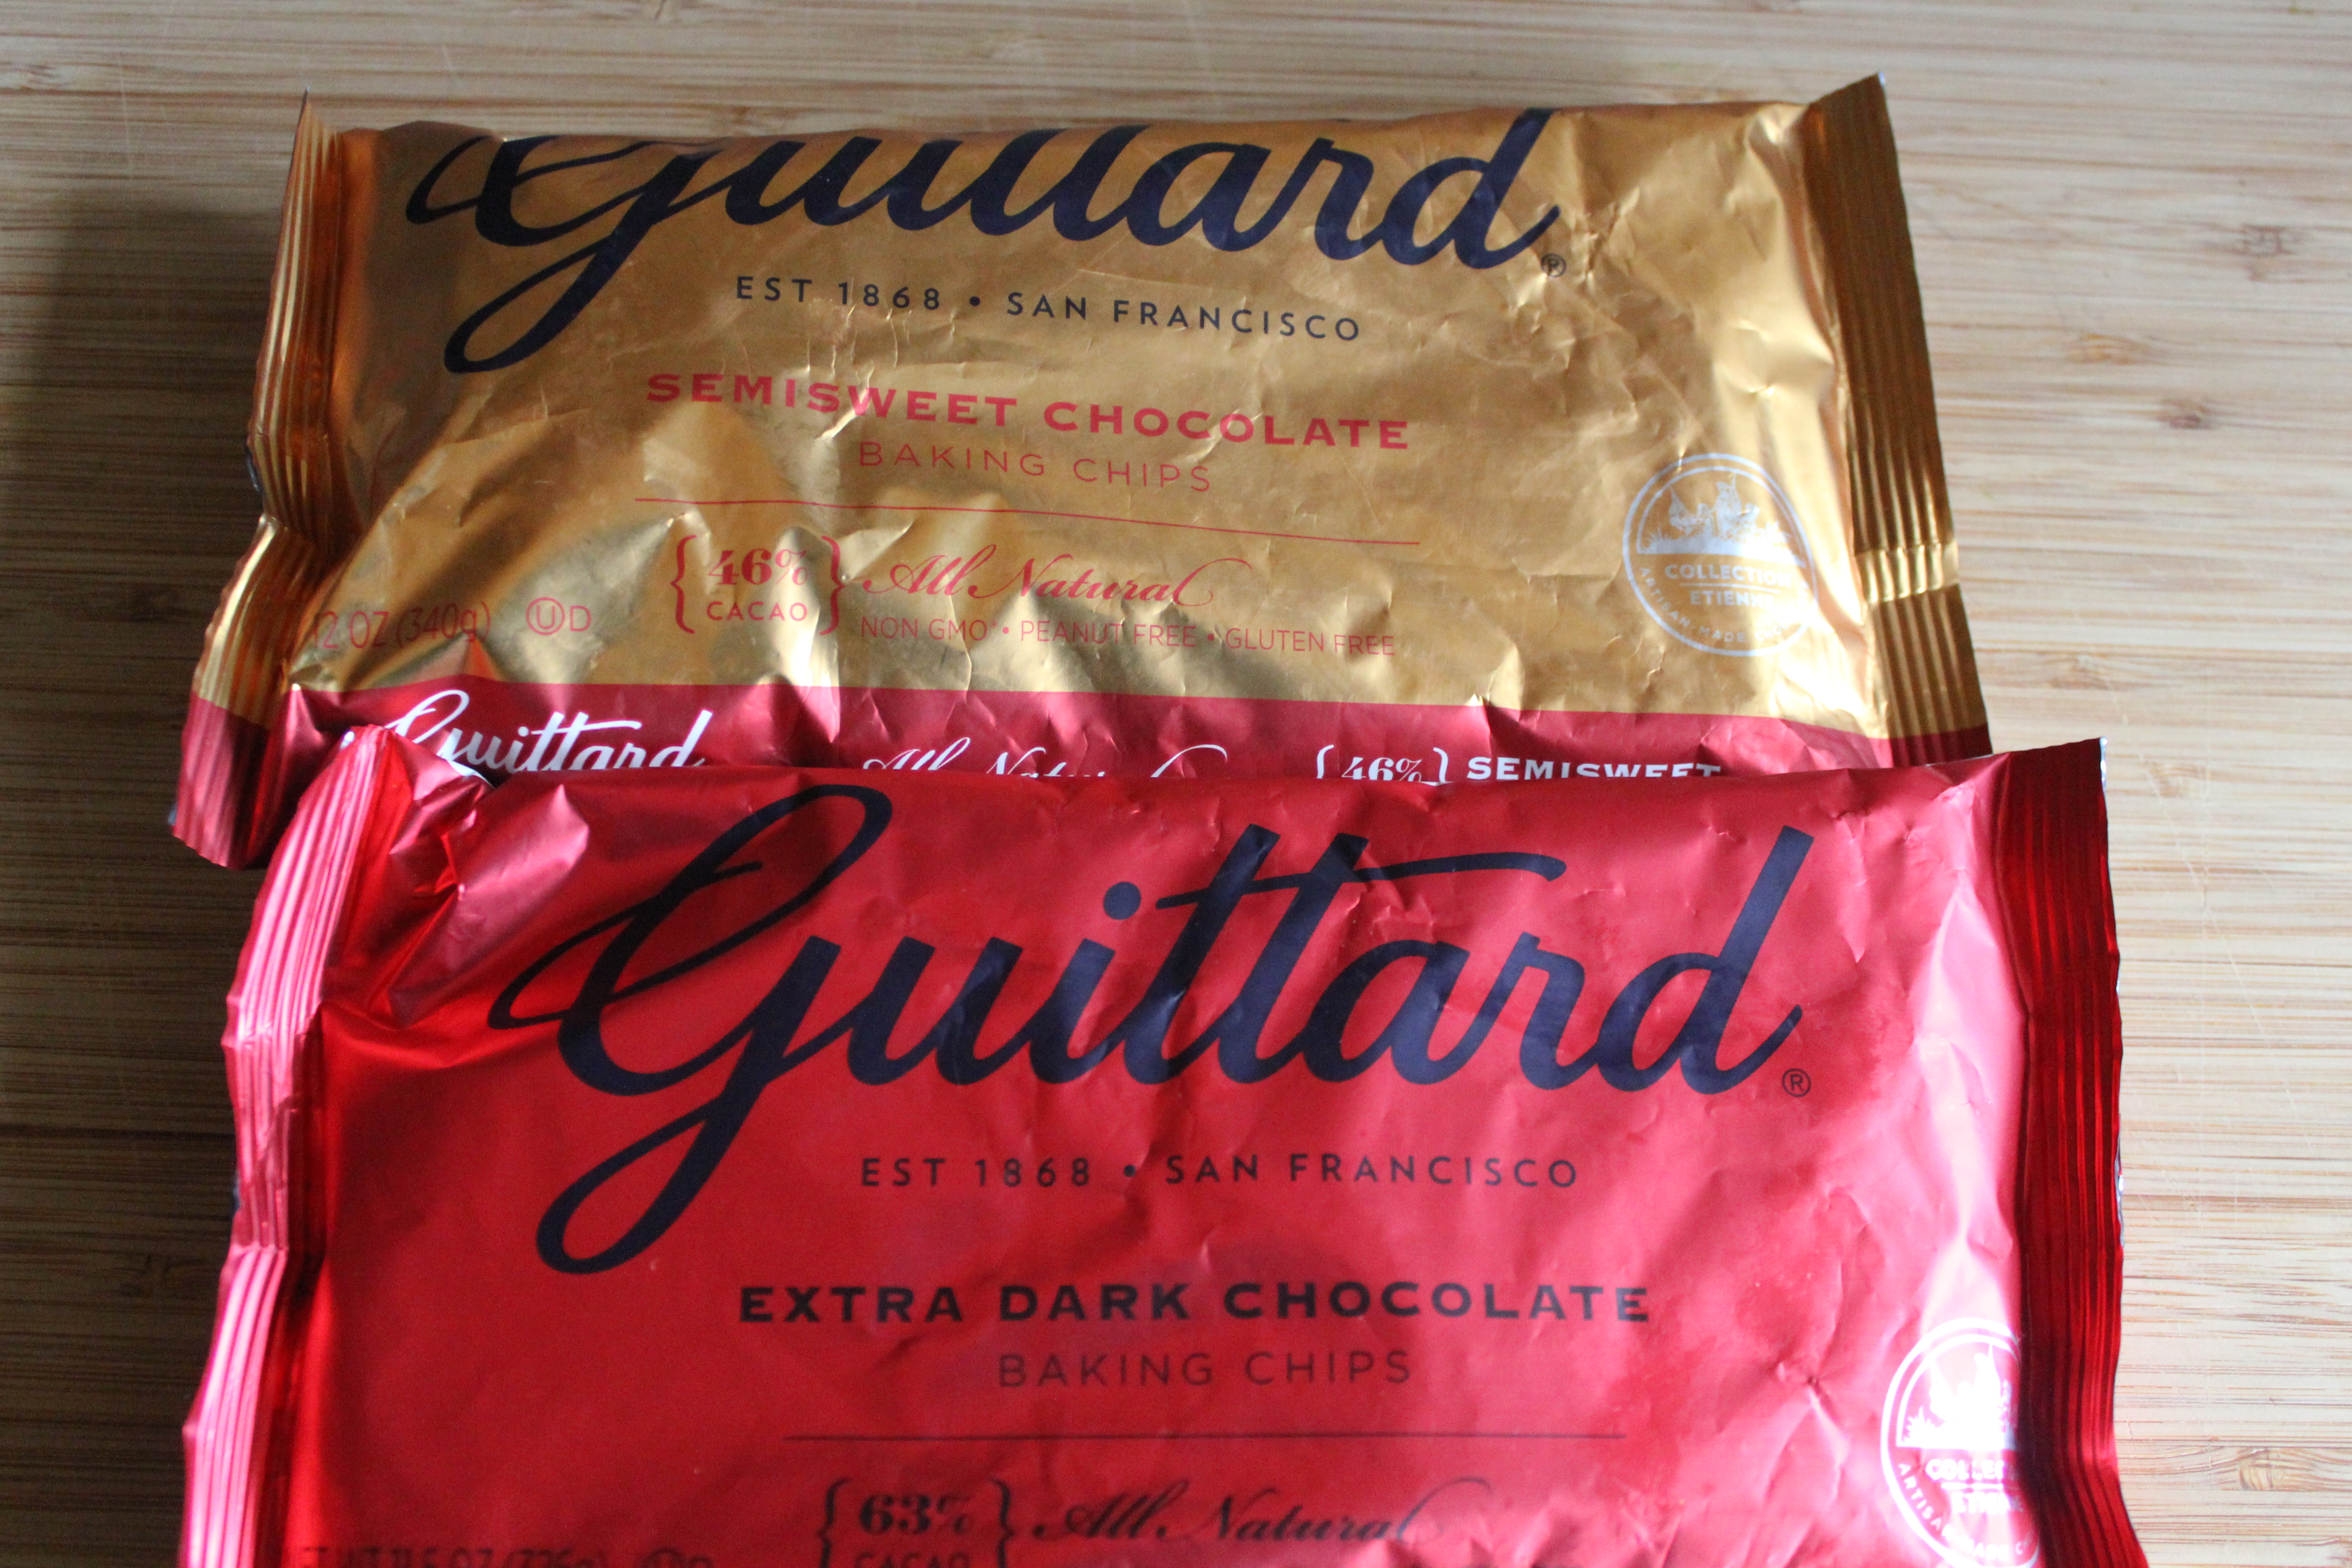
For the chocolate, my favorite chocolate of choice is 63% Extra Dark Guittard chocolate mixed with Semisweet Guittard chocolate chips. Key to a good tasting brownie is in the chocolate used..all the flavor comes from chocolate, so use your favorite good quality chocolate for the recipe.
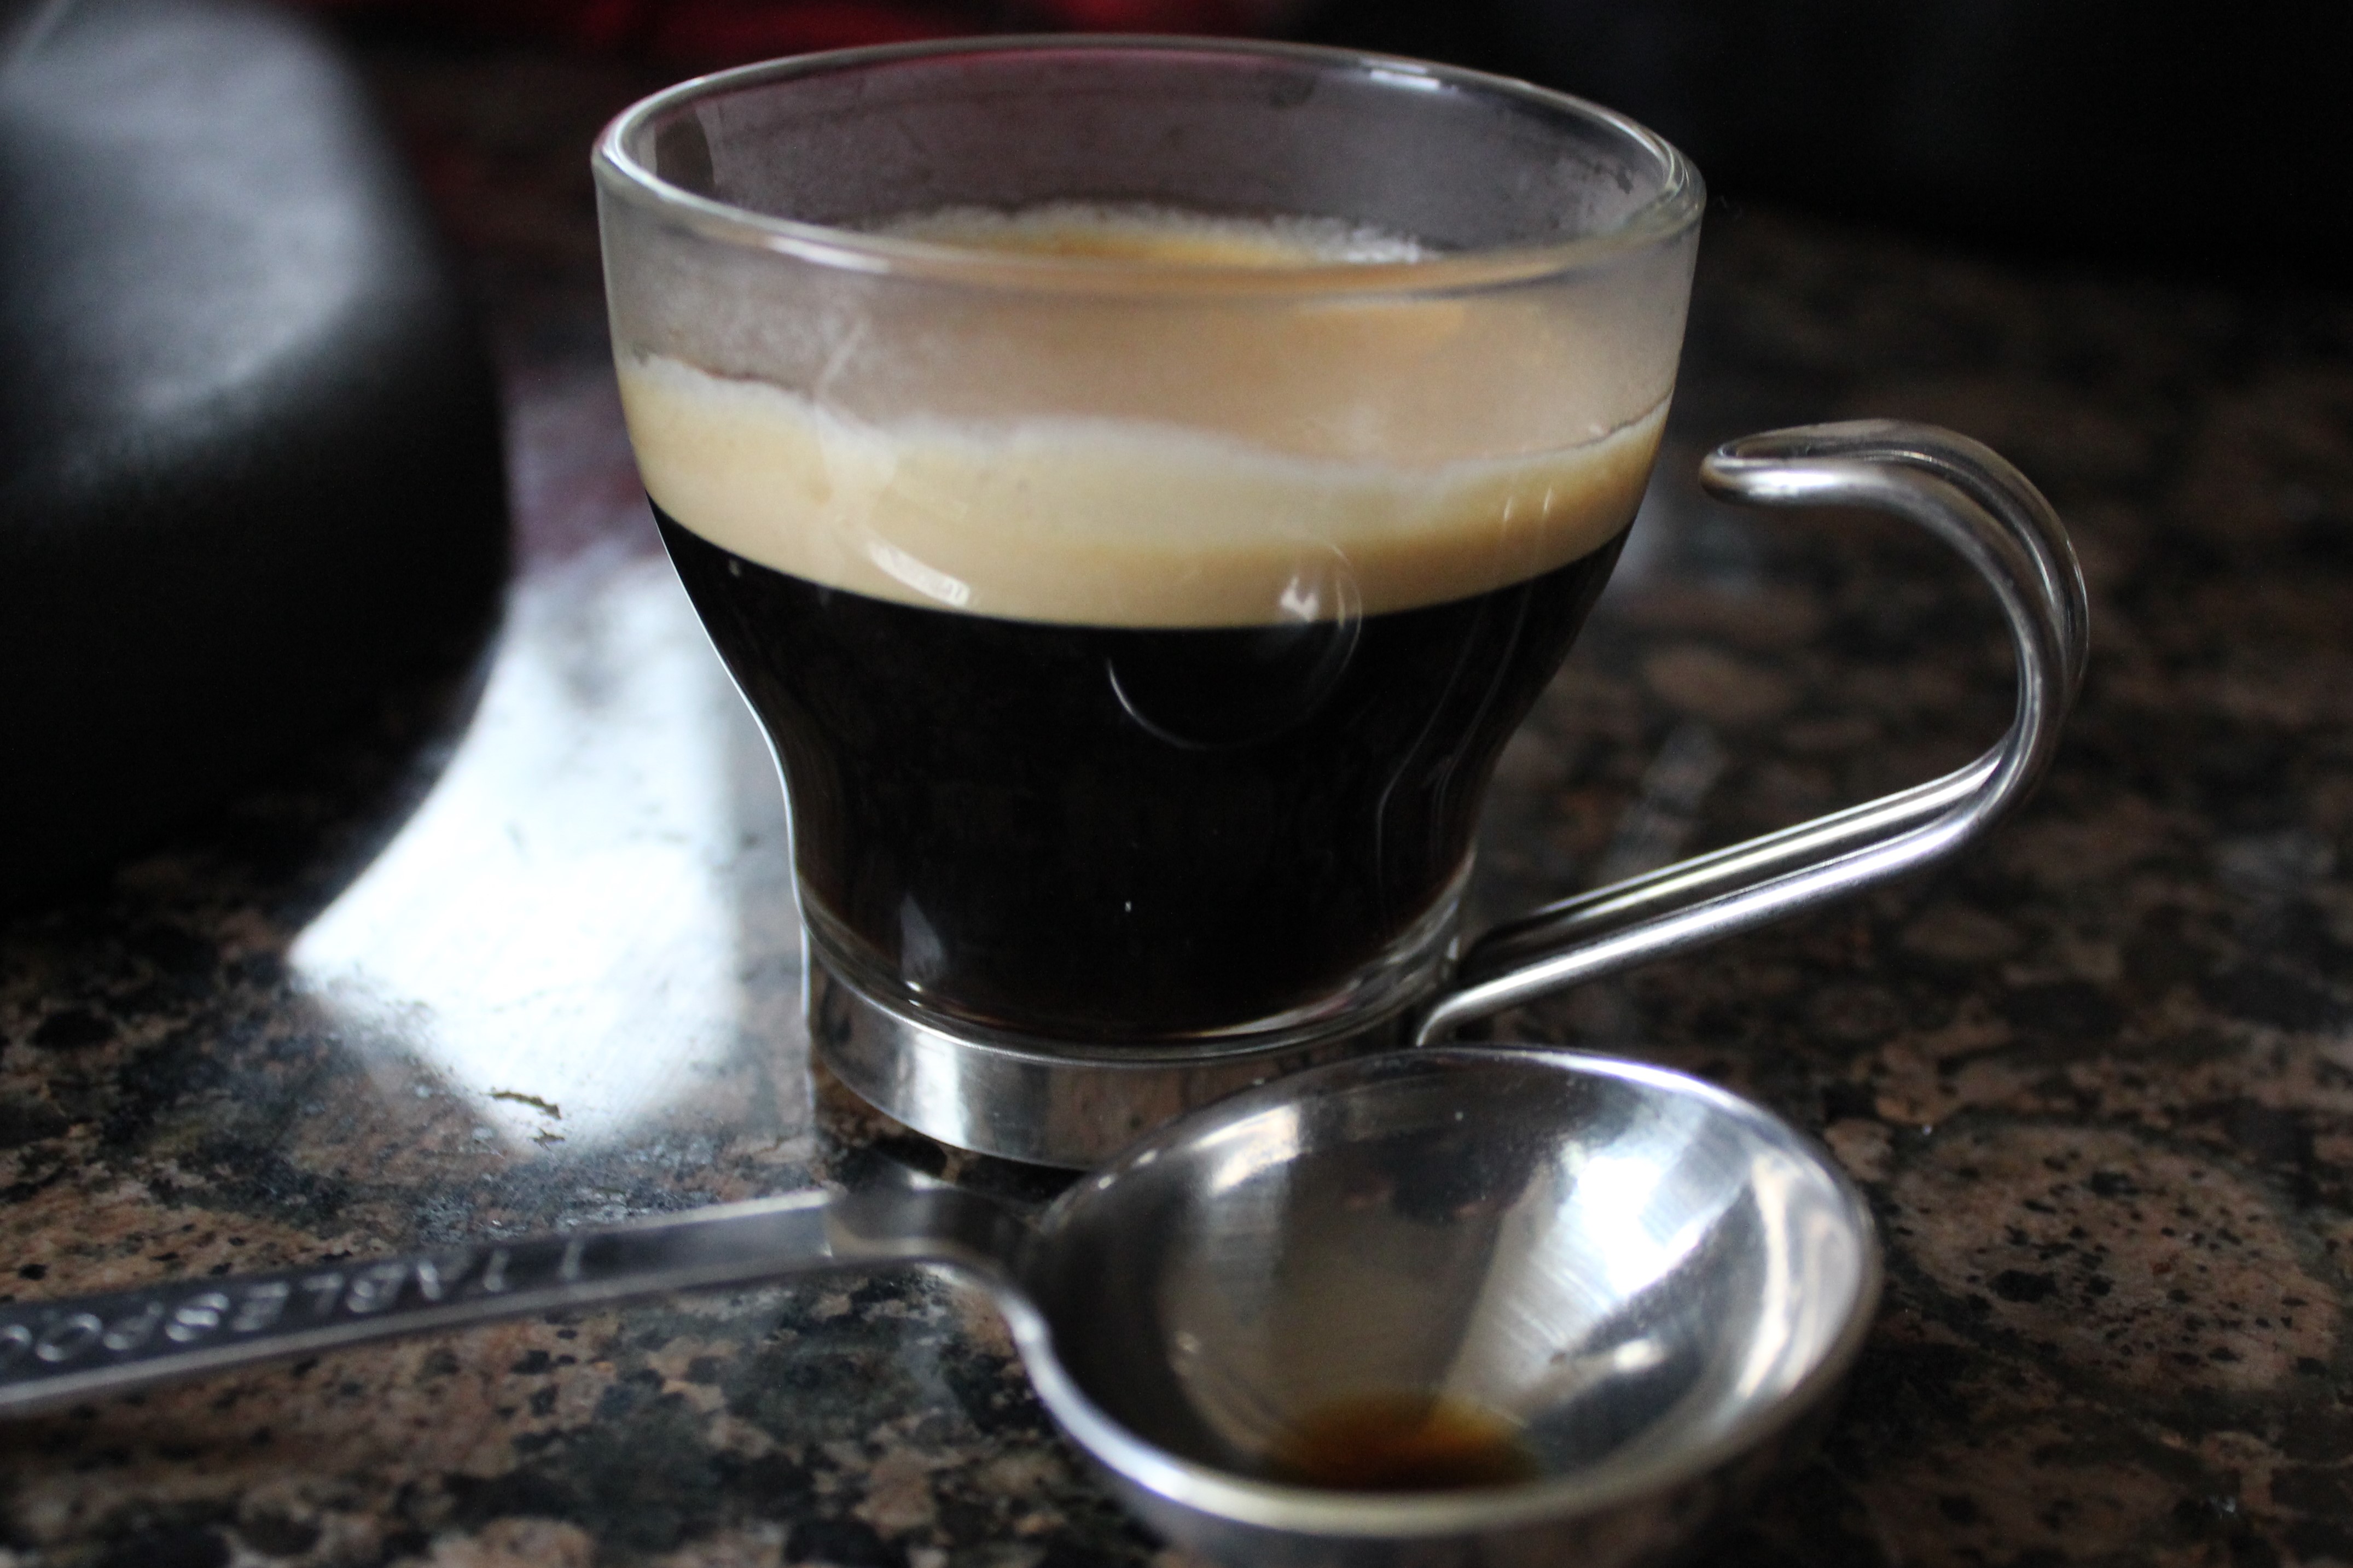
Some brownie recipes do include walnuts, but this recipe is pure chocolate all the way. Interesting ingredient you’ll find in most brownie recipes is instant coffee powder or espresso. For this recipe, I have used 2tbs of espresso. You may substitute with 1tbs of instant coffee instead. Coffee is used to enhance and boost the chocolate flavor in a the brownie, you will not taste the coffee.
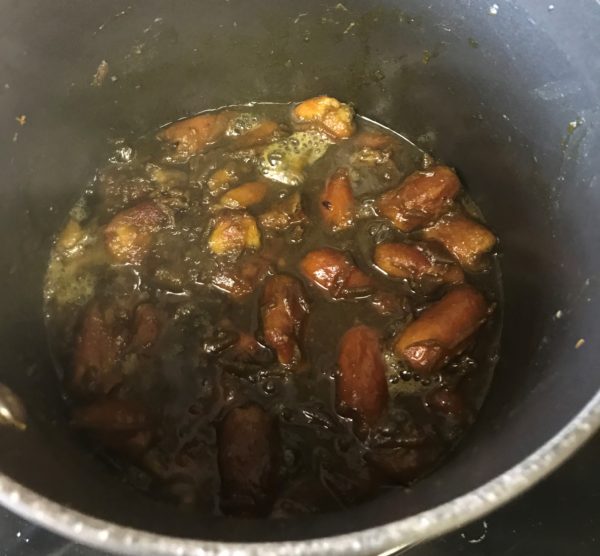
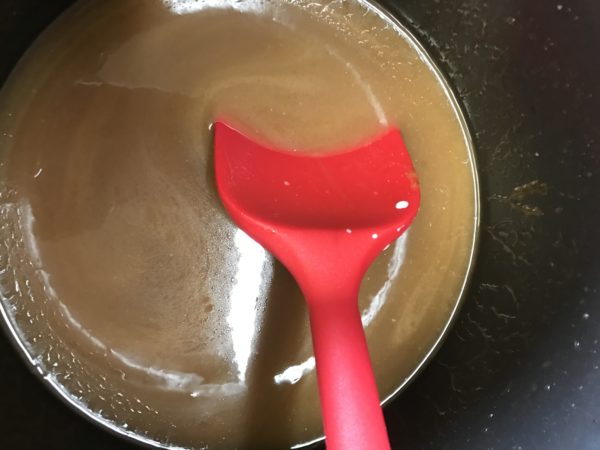
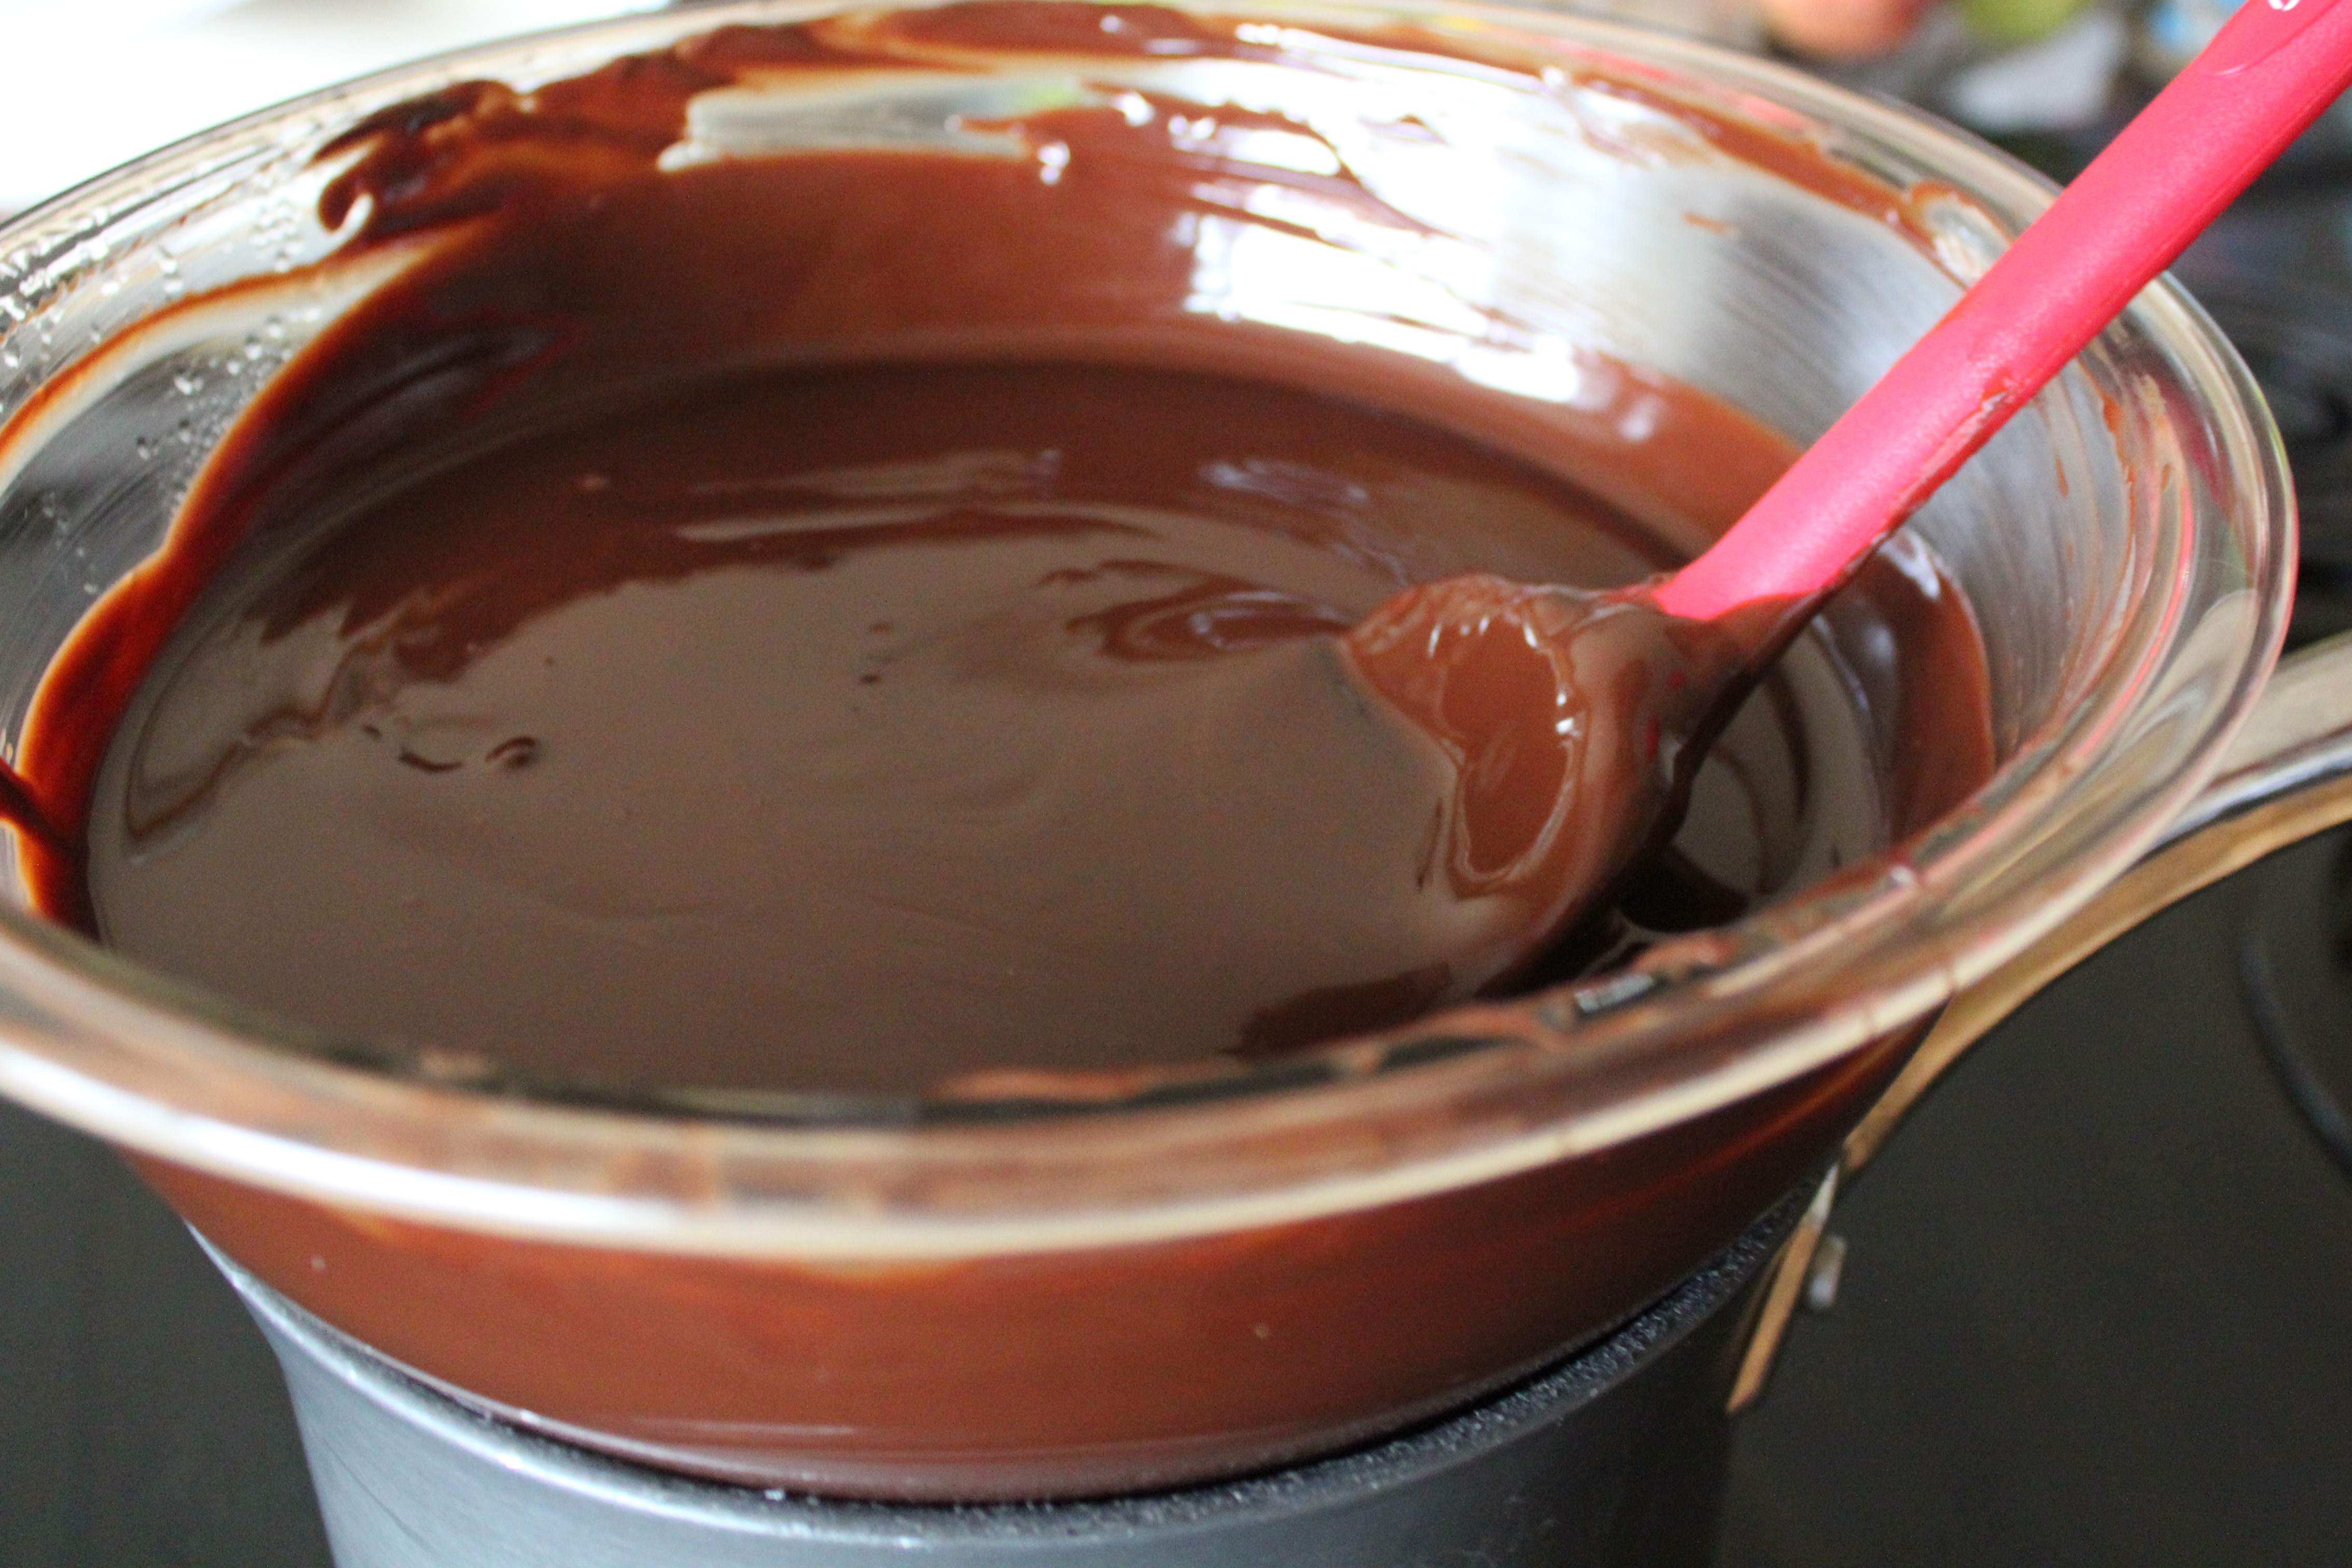
Firstly, we need to melt the chocolate and butter in a double boiler. Why the double boiler? It is because, chocolate can burn quite easy. Melting it in a double boiler assures that chocolate melts gently and no direct contact will heat will prevent the burning. For a homemade double boiler (also quite often referred to as water bath or bain marie), place a glass bowl on top of a saucepan containing water and then bring the water to a boil. Keep the water at a boil on medium heat during the entire process. When the butter and chocolate are well combined you will get a silky smooth look to the melted chocolate that looks like a ganache..
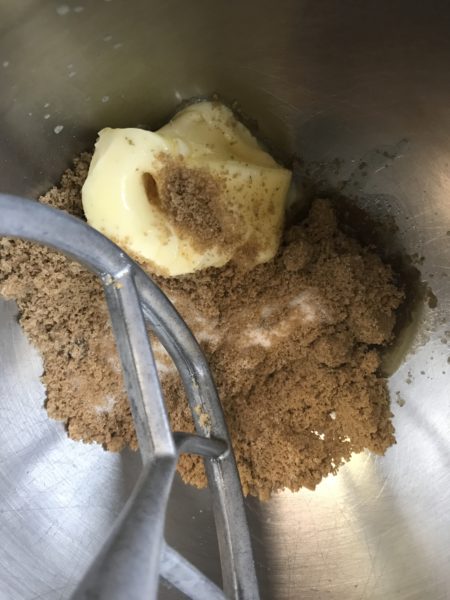
Set this aside, while we get the egg mixture ready. In a bowl of a stand mixer, add the 6 eggs, 1 tbs vanilla, 2 tbs of cooled espresso and the 1½ cup sugar. Beat until well combined.
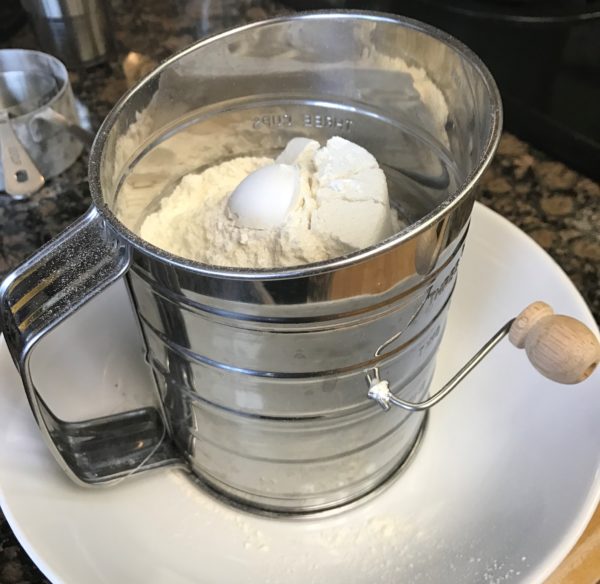
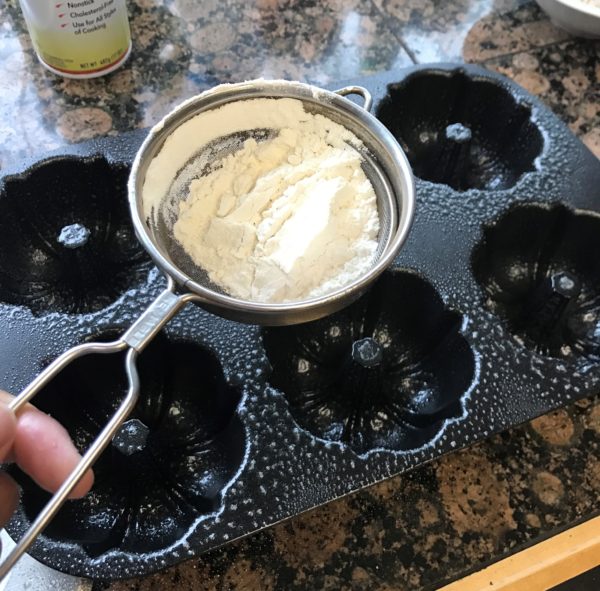
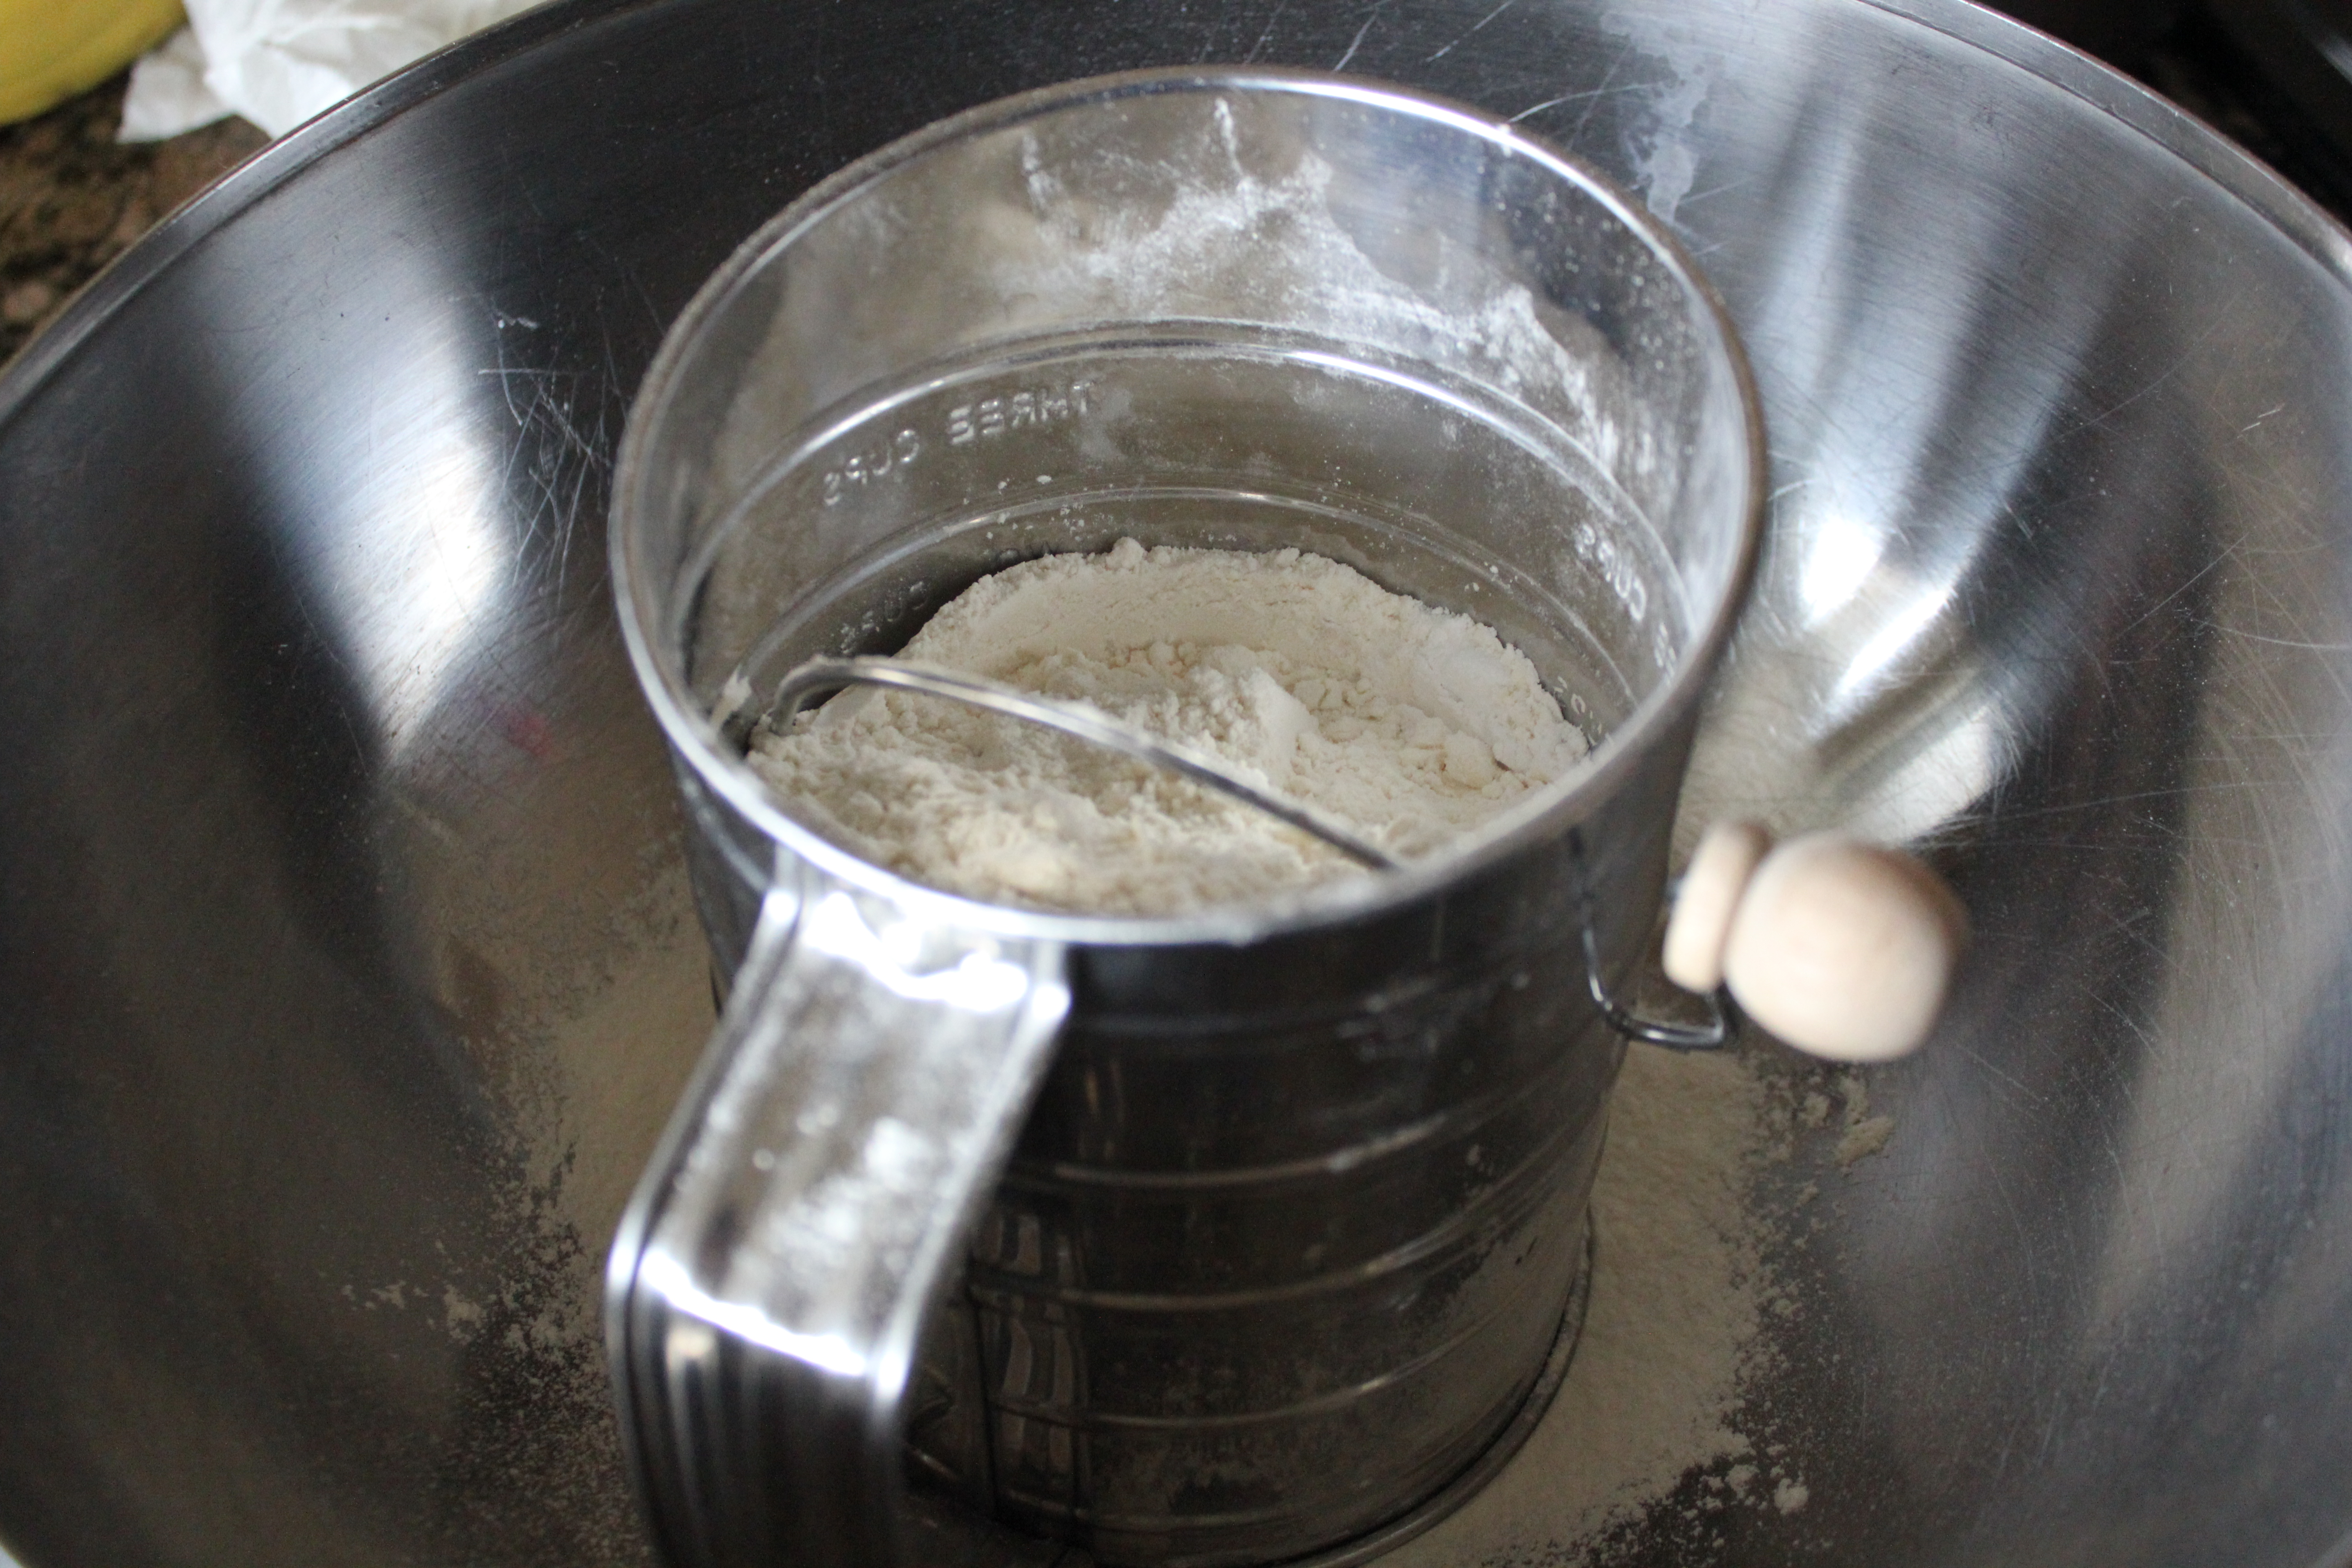
While the eggs are getting happy in the mixer, time to get the dry ingredients together. In a Sifter, sift the 1¼ all-purpose flour, the 1tbs baking powder and ½ tsp salt. If you don’t have a sifter, don’t sweat it, combine all the dry ingredients in a bowl and whisk away. The goal here with the sifting is to make sure your flour is well aerated before you bake. A balloon whisk should do the job as well.
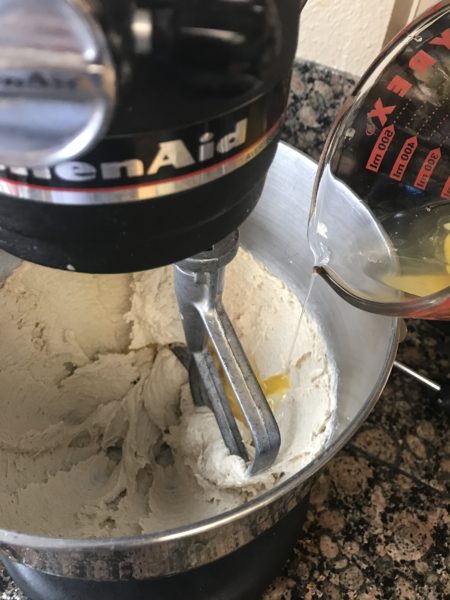
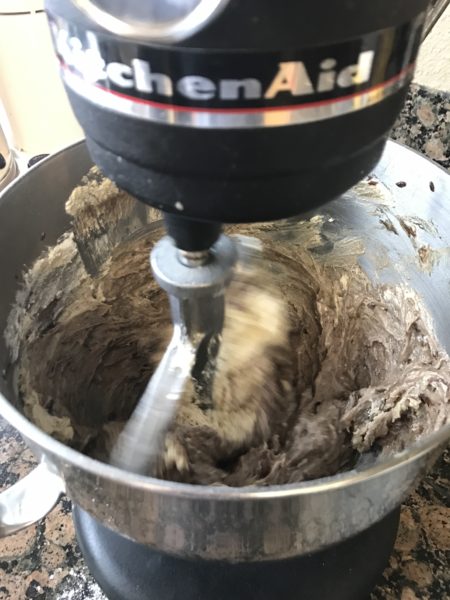
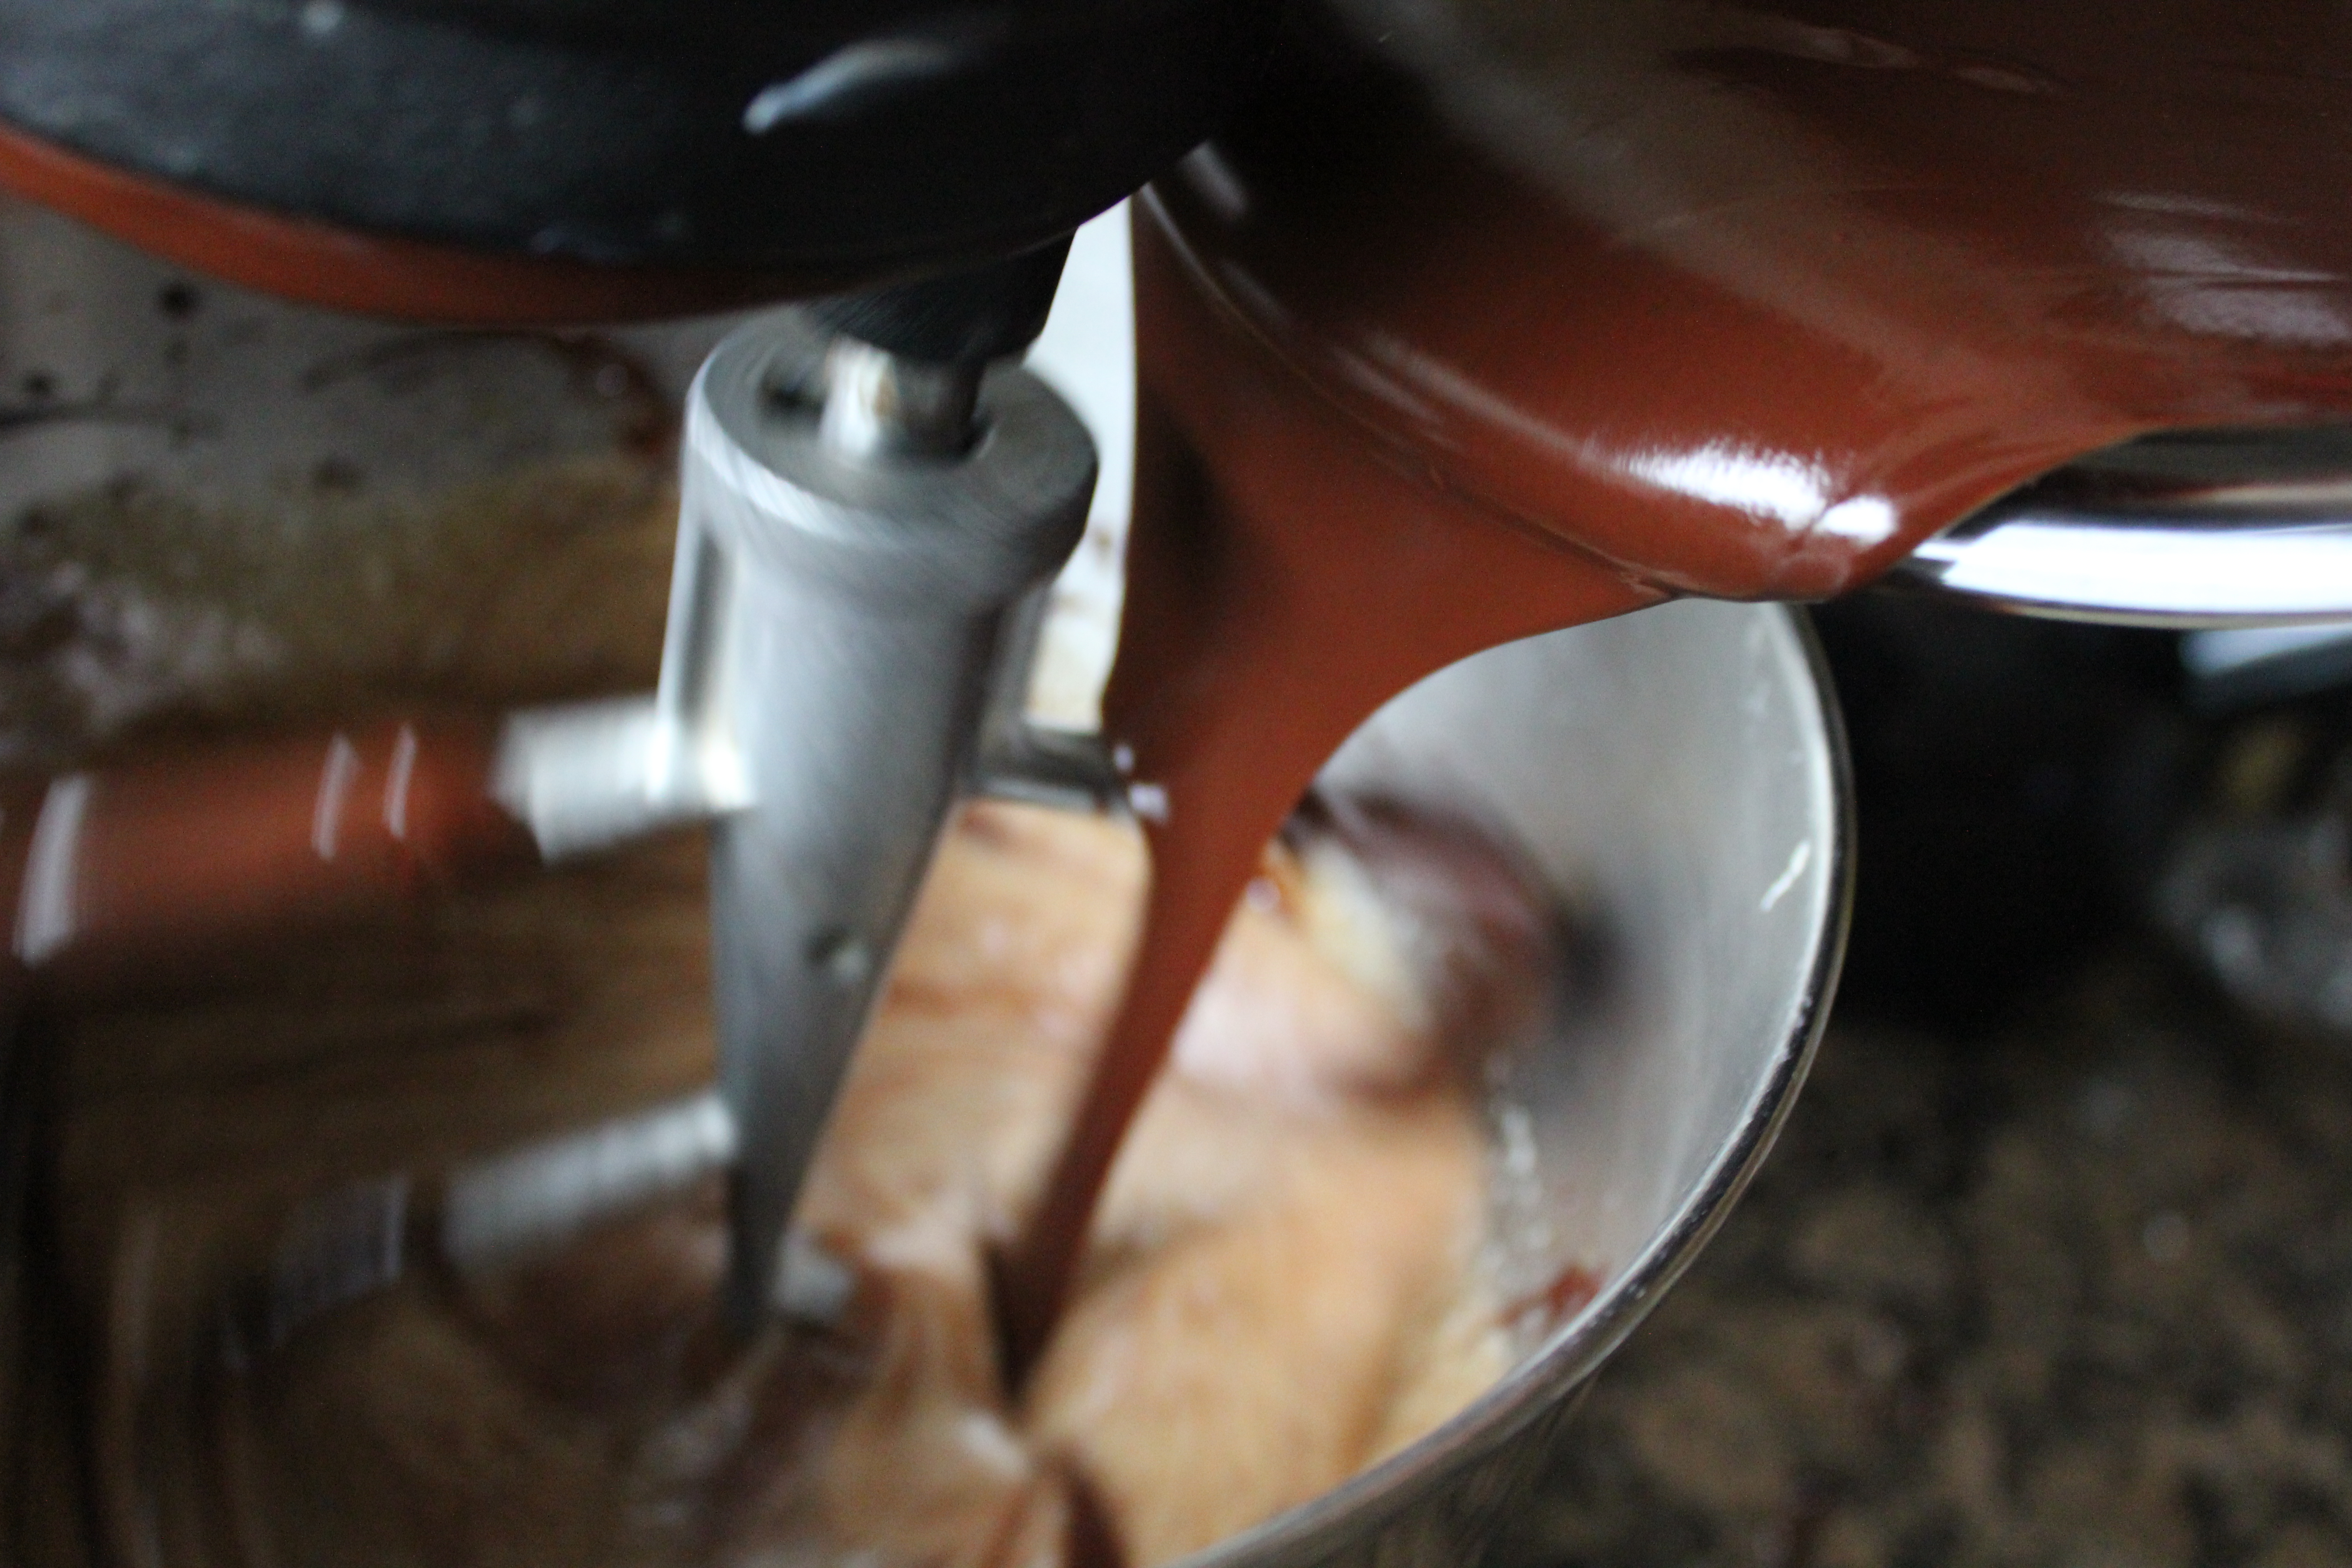
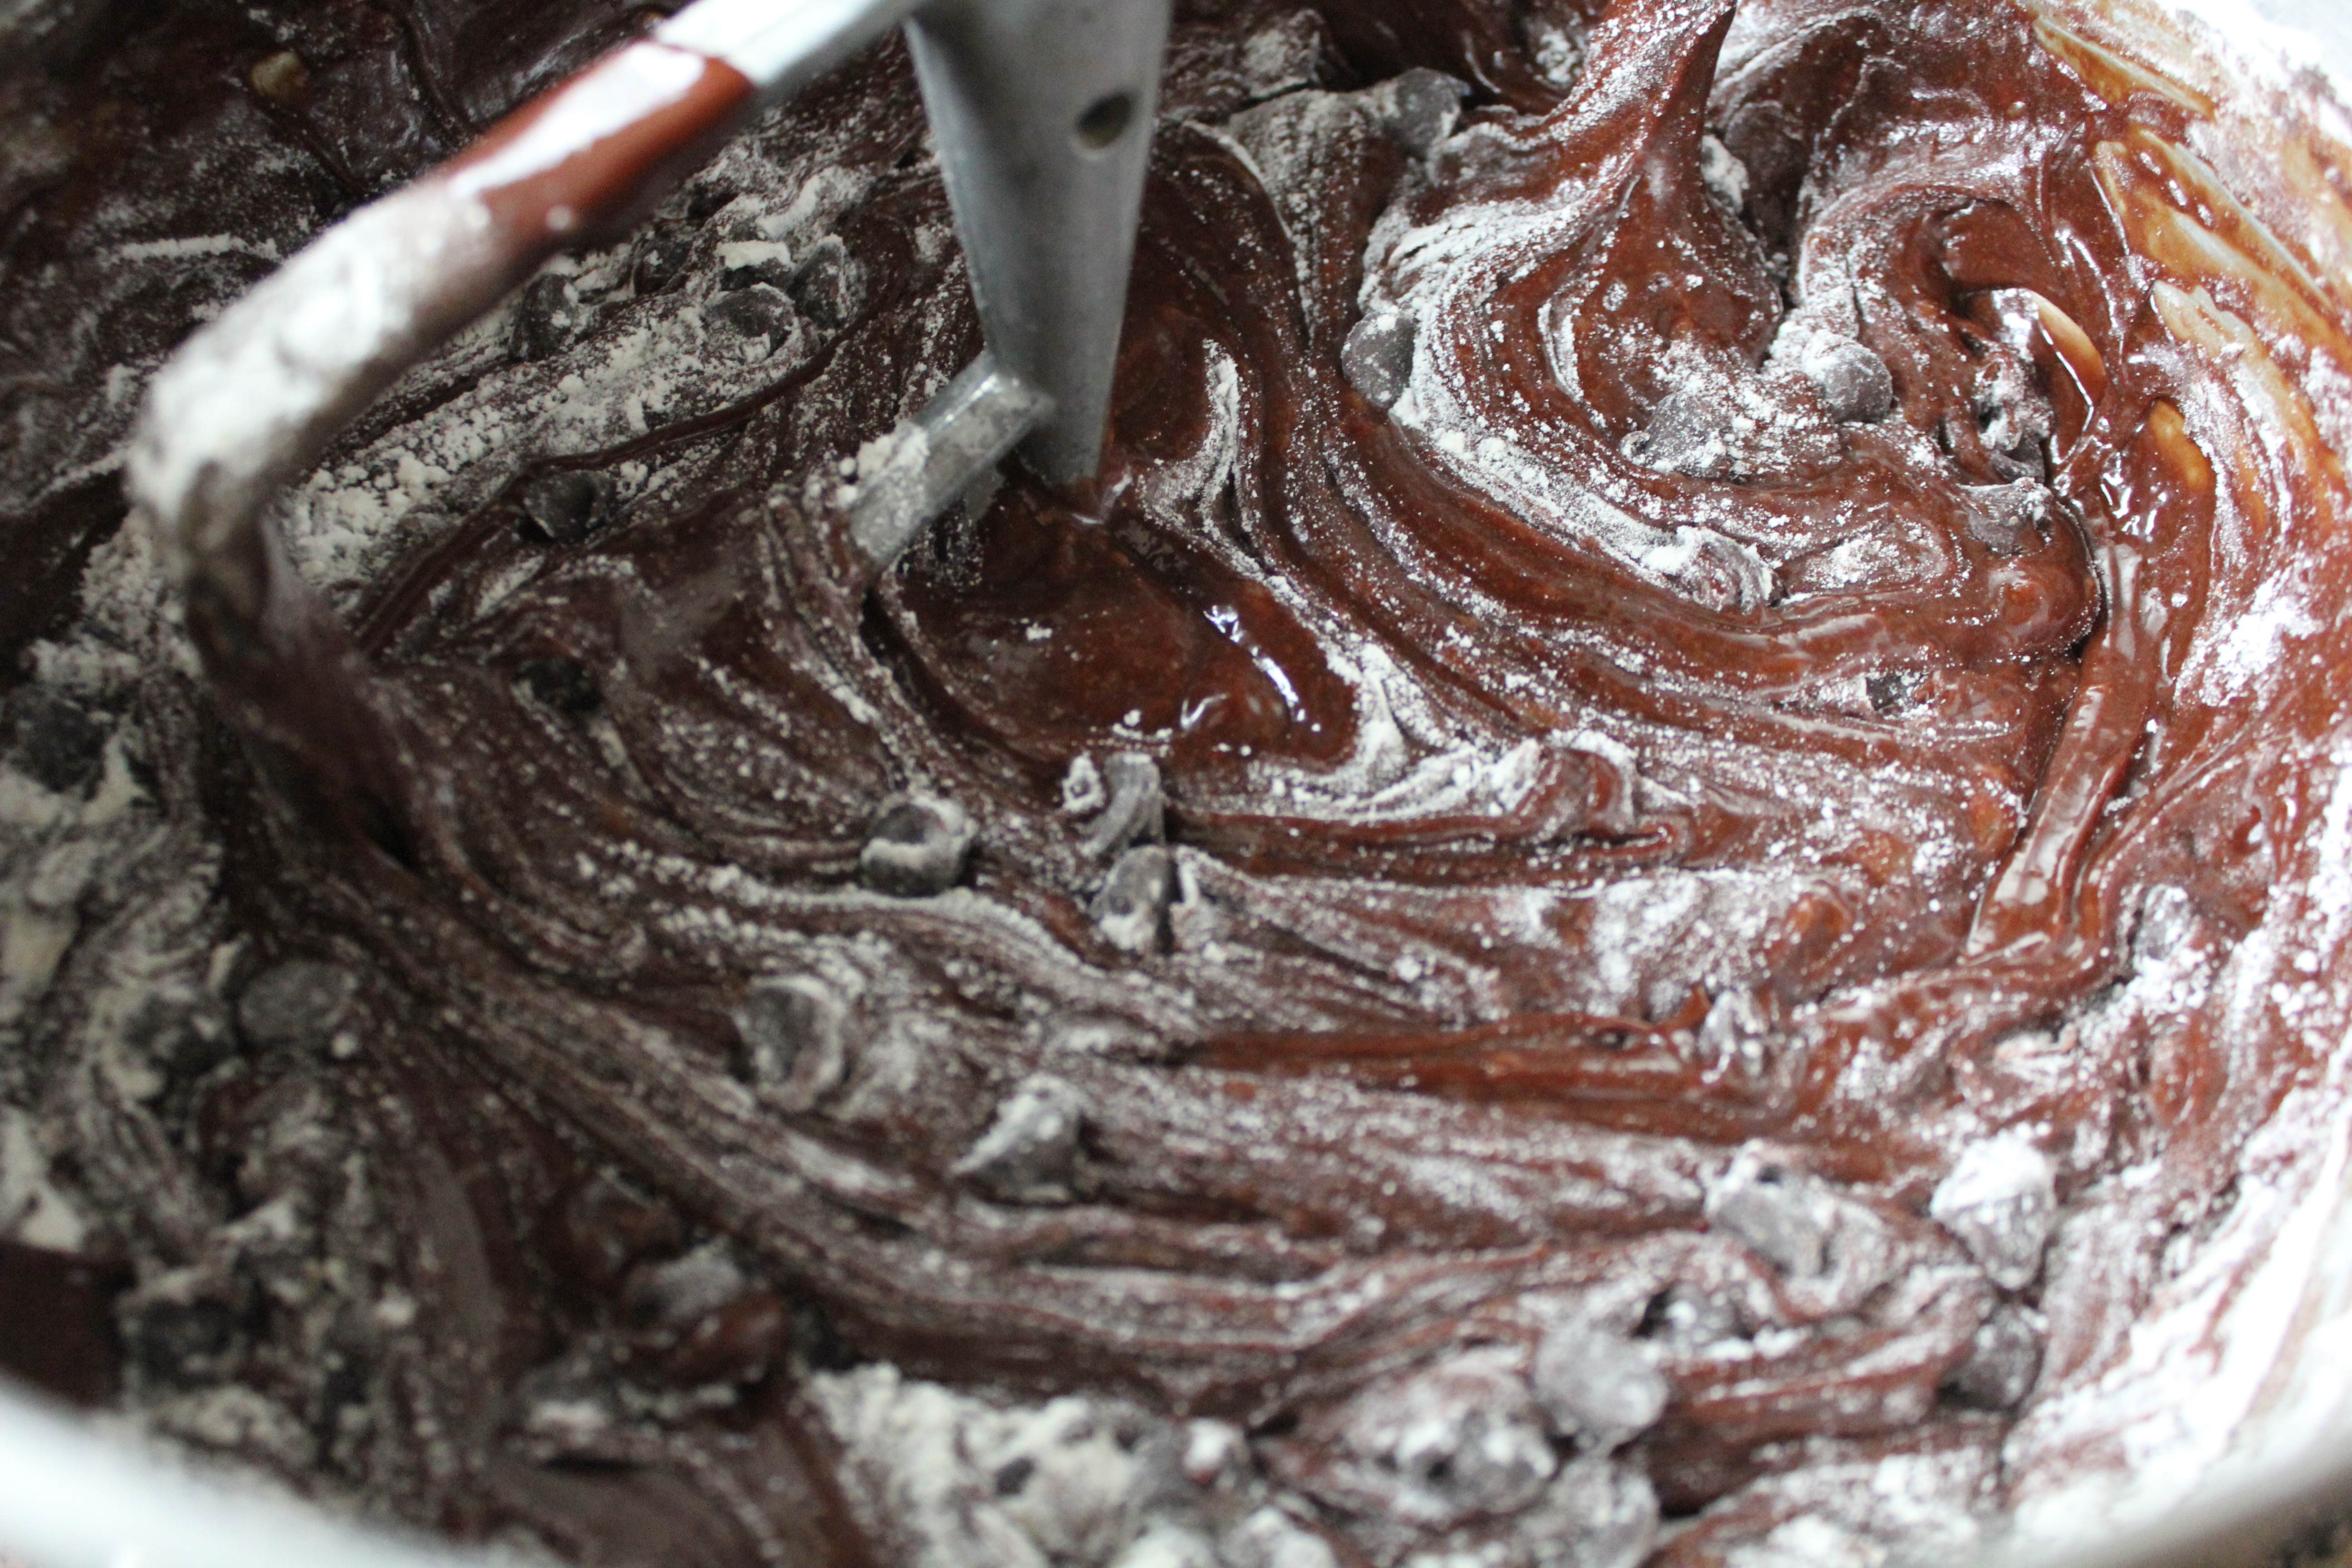
Once the eggs are combined, add the melted chocolate mixture into it and mix well. You can now add the dry ingredient ½ a cup at a time with the mixer running at a low speed. Here you want to mix just until the flour is incorporated into the chocolate egg mix.
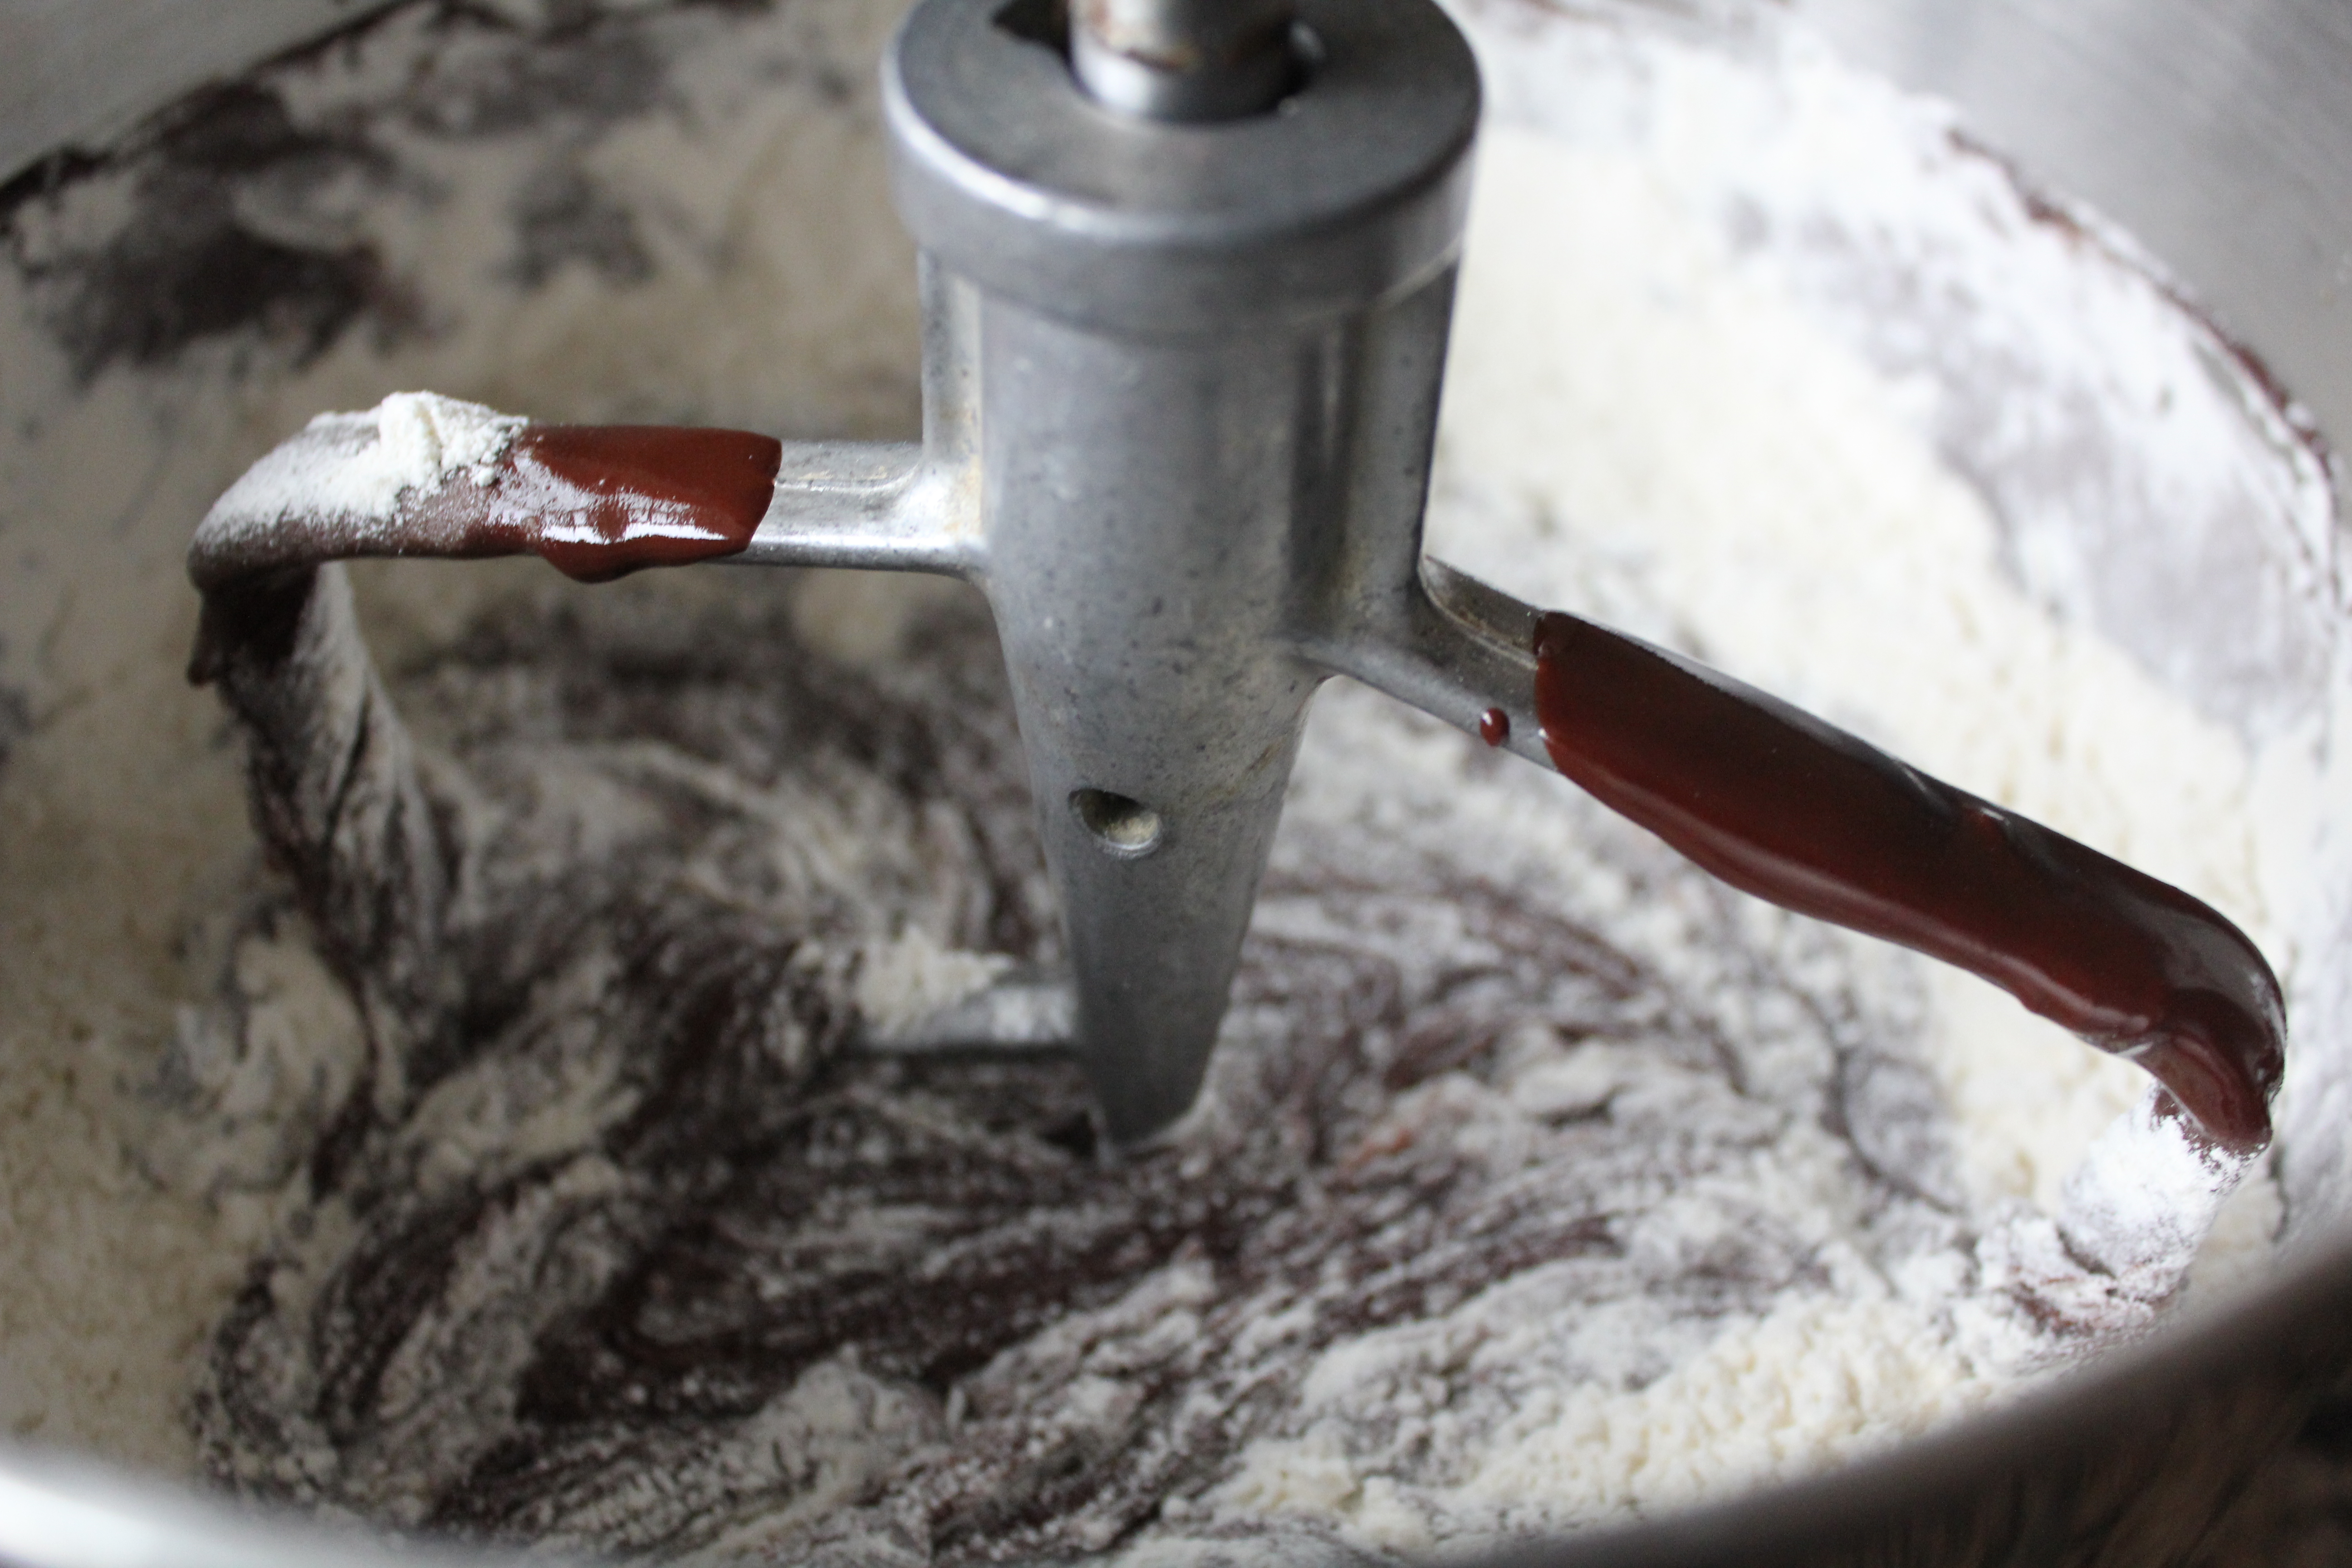
In a bowl mix about ½ to 1 cup of the extra dark chocolate chip with 2 tbs of flour. Add it to the chocolate mix and fold it in or if using a mixer just a few rounds should do..Coating the chocolate chips in flour will prevent all the chocolate chips from sinking to the bottom of the pan, they will remain floating in brownie through the baking process.
Bake the brownies at 350 for about 30 mins. Tapping the baking sheet a few time while baking will let the air out to get a more dense brownie.Do not overbake, this is important, it will dry up the brownies. Check the brownie after about 25mins with a wooden skewer, as soon as it come out clean, time to take it out.
If you do like chewy fudgy brownies, here a trick..While brownies are cooking, time to clean out the freezer, why? What has the freezer to do with my brownies you say? Well, this is to make some room for the baking sheet in the freezer. Once the brownies are done, take them straight from the oven to the freezer to cool. The concept is quite simple, when you boil veggies, as soon as it’s done, it’s dunked in ice water to stop further cooking. The brownies do the same, if you let it sit at room temp, it will continue to cook inside leading to some cakiness. If you desire the chewy fudgy brownie, then we want to cool it as fast as possible.
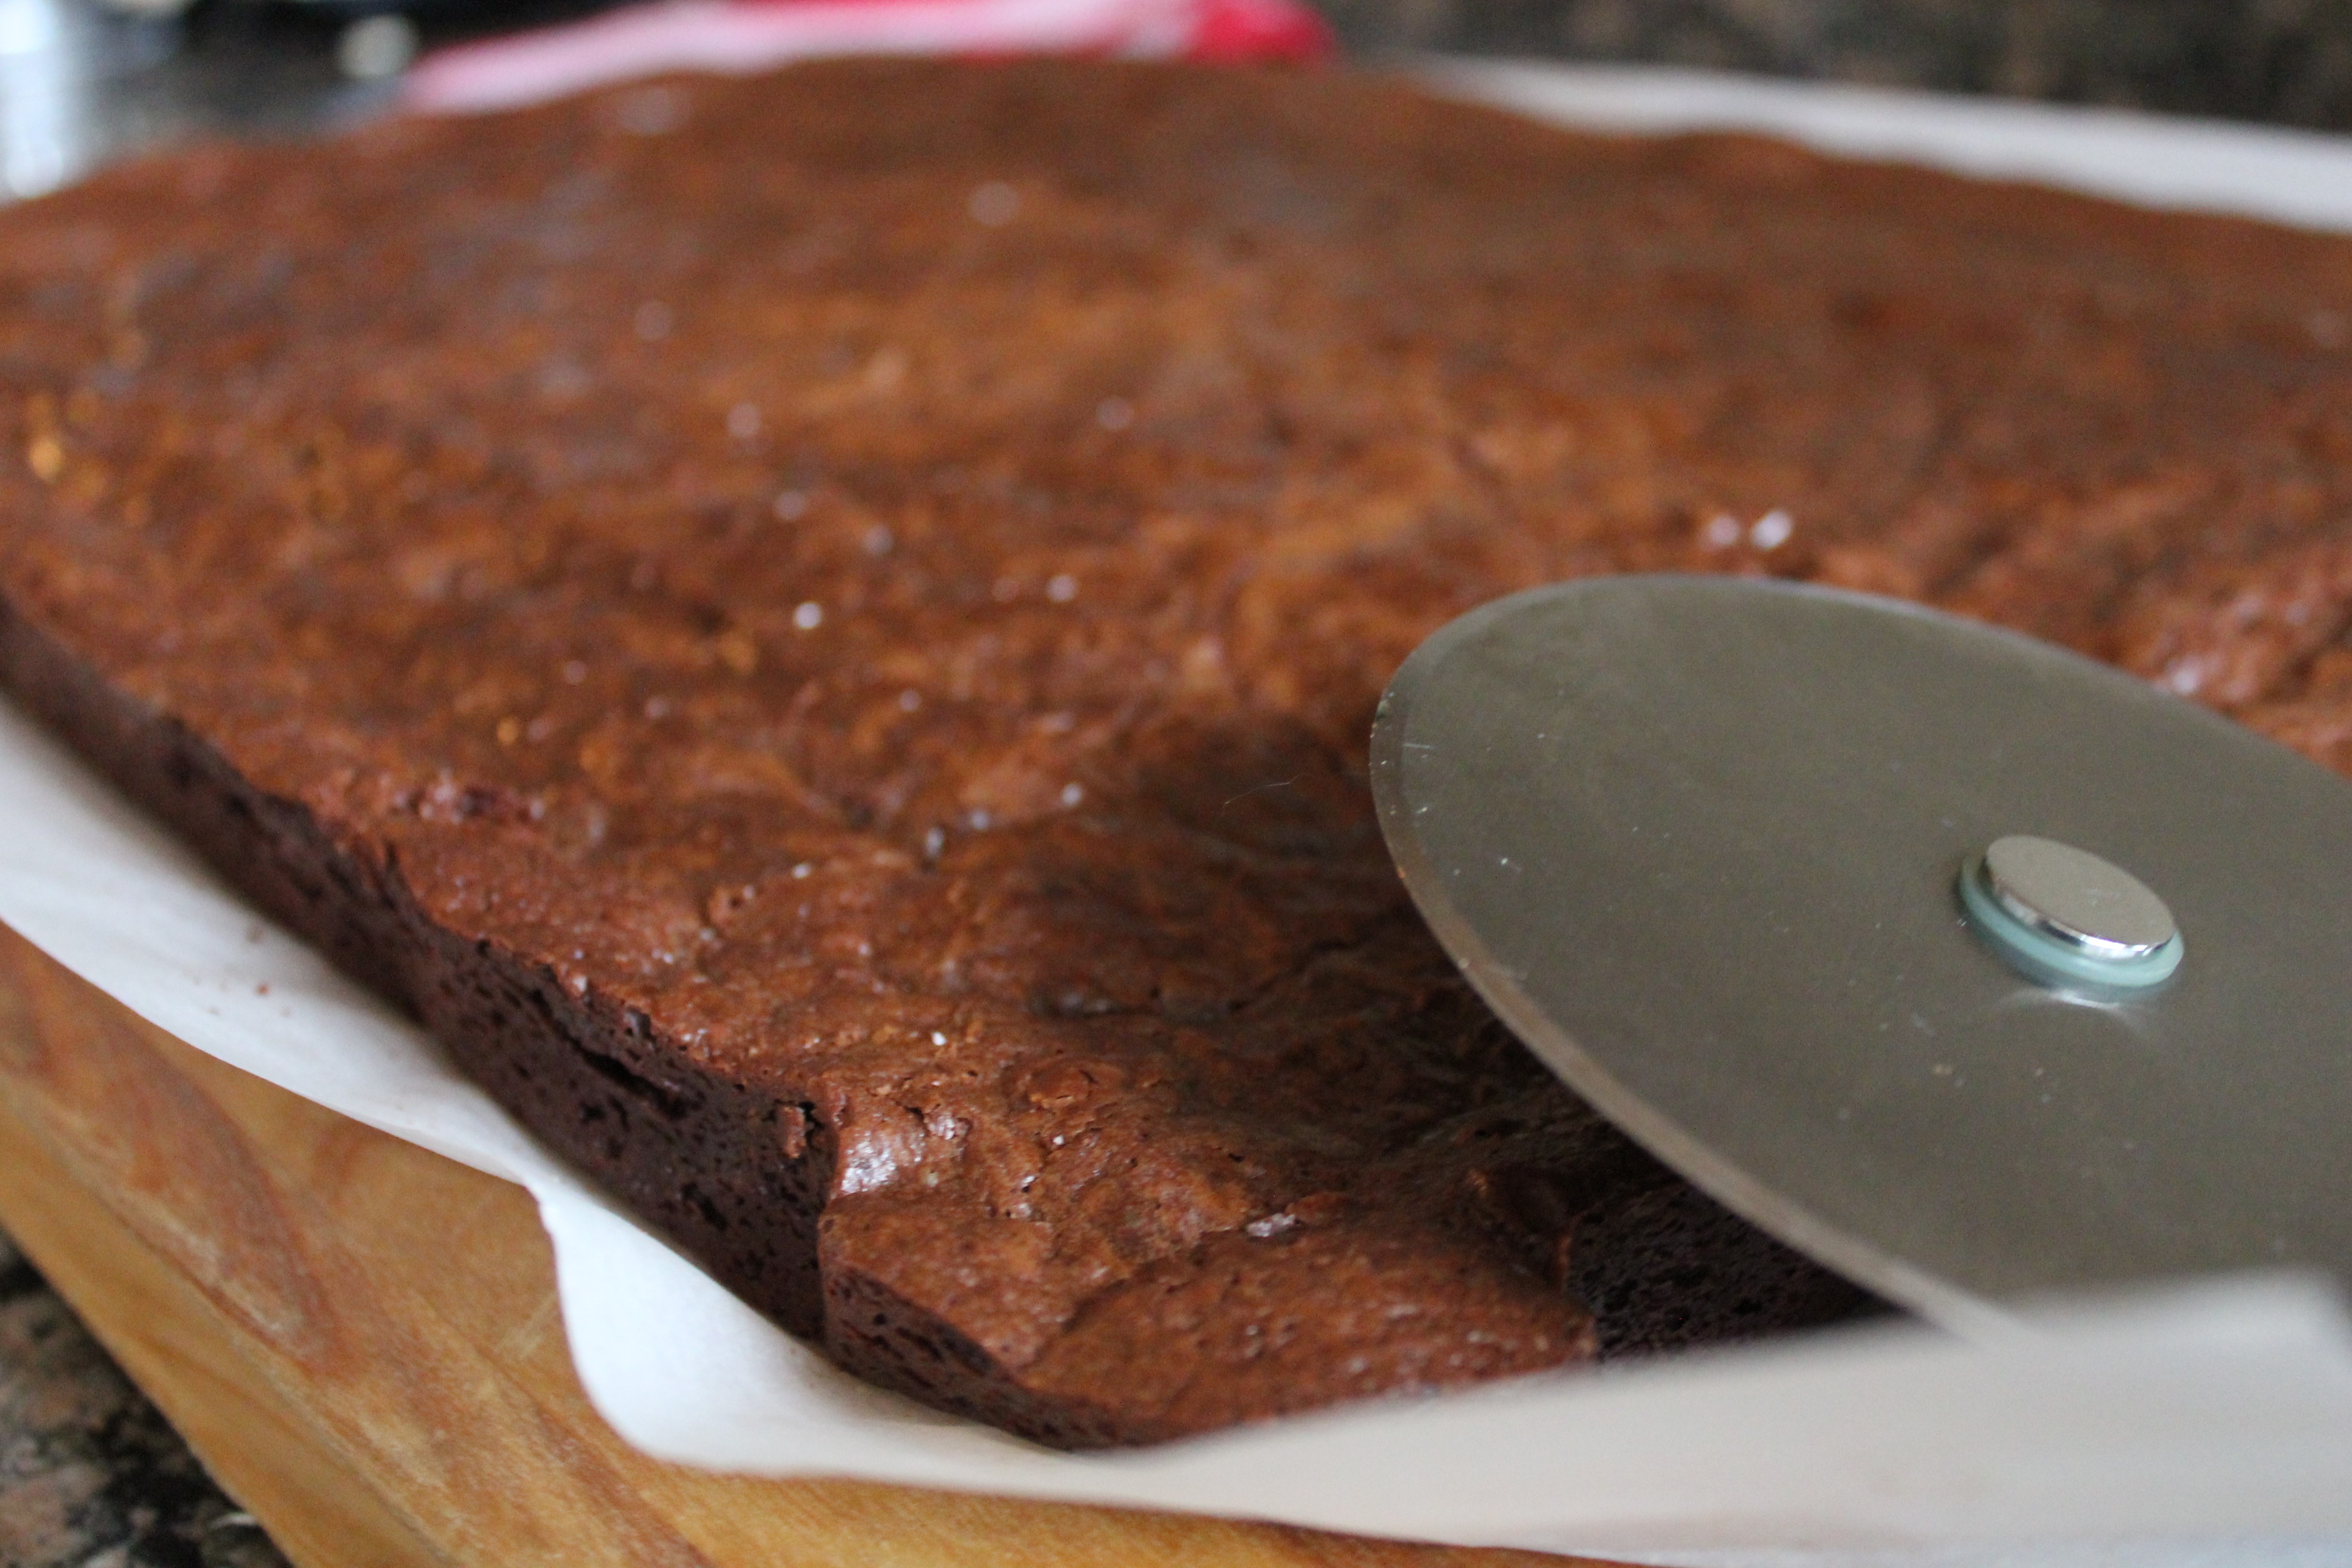
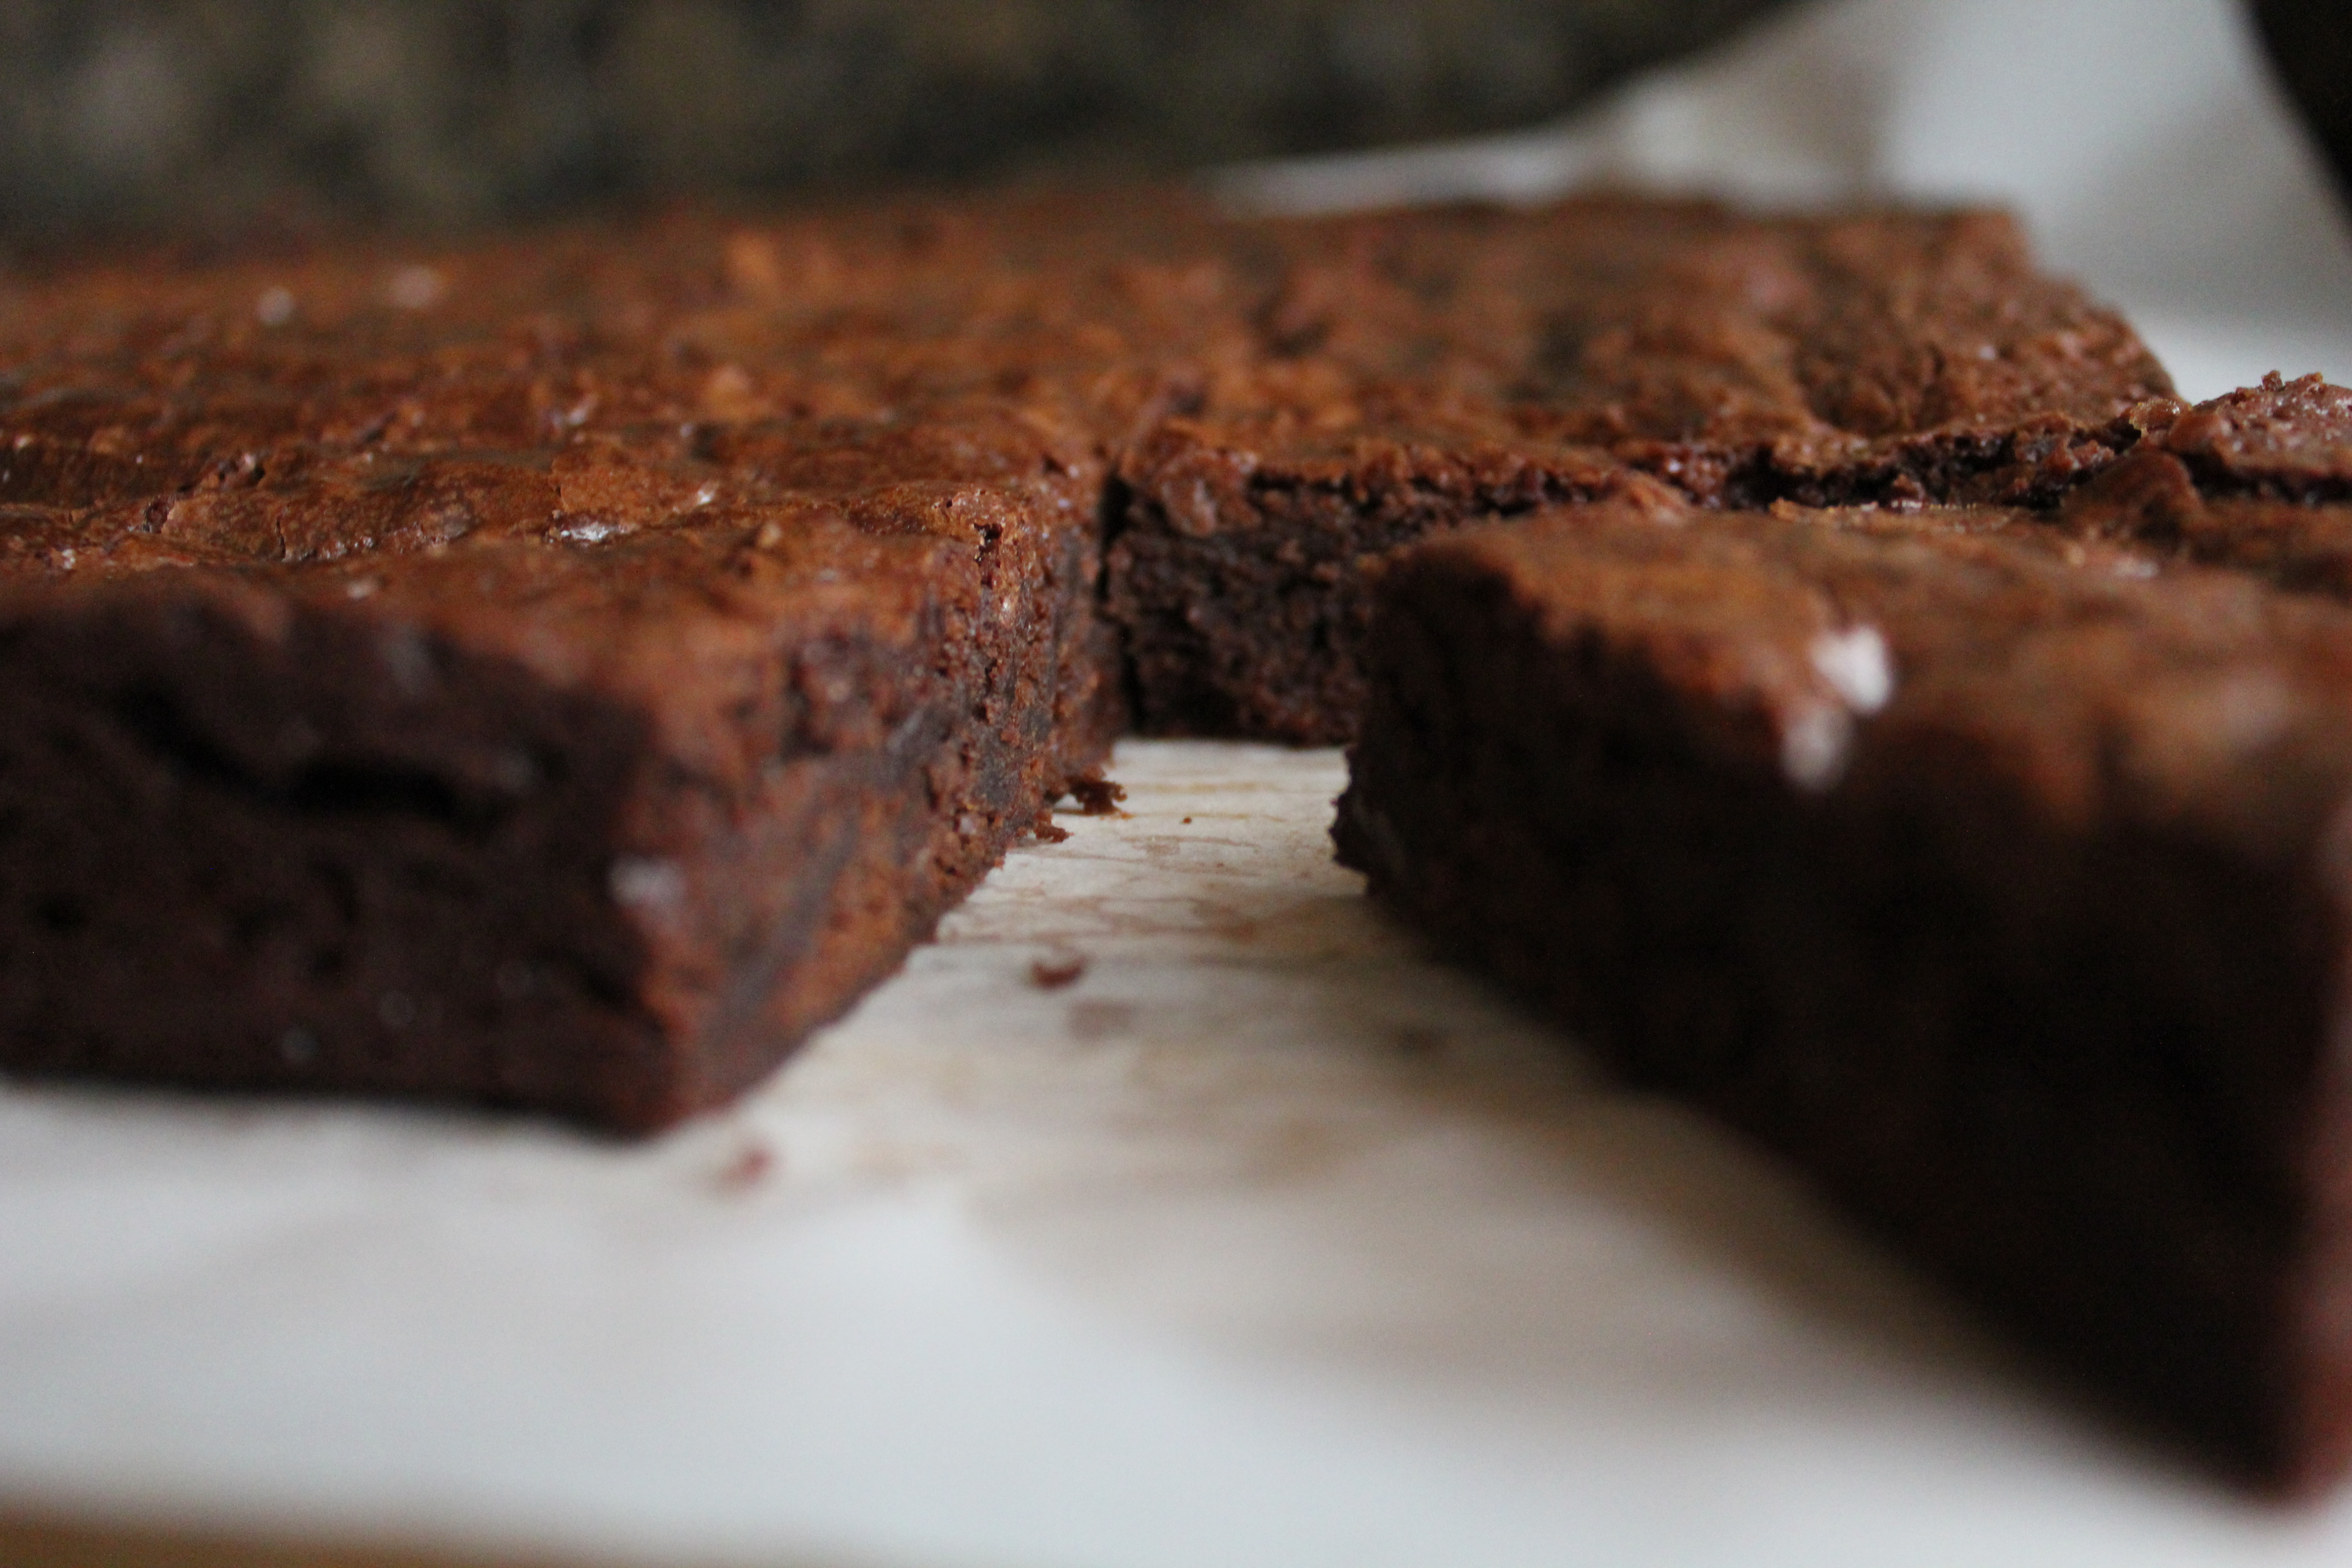
Cut the brownies after cooling it well.. If you cut it while still warm, it will crumble up. I like to use my trusty pizza slicer for cutting up the brownie but a large sharp knife will do the job well as well. Brownies usually takes better the next day after you bake, the chocolate sets up well resulting in further goodness.
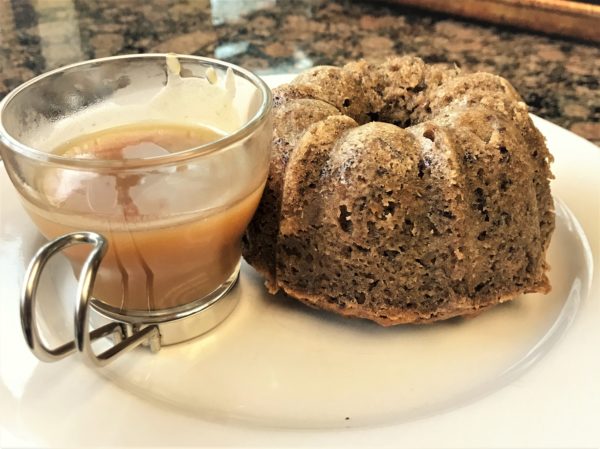
How do you best like your brownies? Leave me a comment! For me it just has to be slightly warmed up with a big scoop of vanilla bean gelato (my favorite brand Talenti), gently melting away on top of that warm brownie.
- 3 Sticks of Butter
- 11.5oz Semisweet Chocolate Chips (Guittard Chocolate Chips preferred)
- 11.5oz + 1 cup Extra Dark Chocolate Chips (Guittard Chocolate Chips preferred)
- 6 Eggs
- 1 Tbsp Vanilla Extract
- 2 Tbsp Espresso
- 1½ cups Sugar
- 1¼ cup All Purpose Flour
- 1 Tbsp Baking Powder
- ½ Tsp salt
- Preheat oven to 350F
- Line 12 x 18 x 1-inch baking sheet with parchment and grease with butter.
- Add the 3 cups of butter in a glass bowl to place on top of a double boiler.
- Once the butter starts to melt, add all the chocolate chips to the bowl
- Using a spatula, stir the butter and chocolate chips until the chocolate chips melt
- Set the melted chocolate on the side to cool.
- In a mixer, mix the 6 eggs, the 1Tbsp vanilla extract, 2 Tbsp of coffee and the 1½ cups of sugar.
- In a sifter, sift the the 1¼ cup of All Purpose Flour, 1 Tbsp Baking Powder and the ½ Tsp salt.
- Toss the 1 cup of extra dark chocolate chips with 2 Tbsp of flour and set aside
- Once the egg is well mixed, add melted chocolate and mix well.
- Then add the flour mixture and mix until just combined.
- Lastly add the 1 cup of chocolate chips tossed in flour to the mix. Fold it in with a spatula or mix just enough to incorporate into the mix
- Pour the entire chocolate mix into a baking sheet lined with parchment
- Bake at 350F for 30 to 35 min until a toothpick inserted comes out clean.
- Tapping the baking sheet a few time while baking will let the air out to get a more dense brownie.
- Put the baking sheet into the freezer as it comes out of the oven for a hour or 2 to cool it down to get a more chewy texture in the brownie.
- Cut to desired size squares and enjoy!